
PROLOGUE
As Captain America, Captain Marvel and Scarlet Witch vanish into the swirling mists of time, Immortus turns towards the remainder of the team. “You three must act no less swiftly if we are to save the galaxy from solar destruction. You will be sent to Earth’s moon, several decades in the past. There you will find Drax the Destroyer, in parley with an alien race that secretly works for the Eternal, Thanos.”
“But Drax hates Thanos, and has sworn to kill him,” says Thanos’s brother, Starfox.
“Just so,” says Immortus irritably, “but since I just told you they work for Thanos secretly, Drax does not know they work for Thanos. If he is not stopped, the aliens will convince Drax to destroy two Earth-made satellites in orbit around Mercury. These satellites study solar flare activity and without the data they provide, Earth will be unable to prevent the flare from destroying the galaxy.”
“So we must battle Drax,” Starfox says. “This isn’t going to be fun.”
“You need not battle Drax, only somehow prevent him from leaving with the aliens,” says Immortus.
“Perhaps we can ask him nicely to stay,” says Wasp. She glances around. “Just kidding.”
“Janet, your beauty truly inspires the most melancholy of poets,” says Starfox. “Sadly, I have never known Drax to be influenced by beauty.” He smiles. “Unlike myself.”
Vision stares at Immortus. The android’s face is inscrutable, revealing little of his true thoughts, although they very likely involve punching Starfox in the dick. “I am linked with the Avengers Mainframe,” he says. “We have no record of any satellites of Earthly origin placed around Mercury during the time you mention.”
“The inaccuracy of your computers is the least of our problems,” snaps Immortus. “Now, prepare yourselves, for we have no more time for discourse!” With that, billowing clouds of smoke envelop the Avengers, hurling them through space and time!
The Scenario:
It’s pretty straightforward: the Avengers must delay Drax the Destroyer long enough so that he doesn’t leave the Moon in the company of the aliens. They can accomplish this one of two ways: beat Drax and the aliens in a straight-up fight, or convince Drax that the aliens work for Thanos, his hated enemy. If they succeed in convincing Drax, he fights alongside the Avengers for the rest of the game.
Setup:
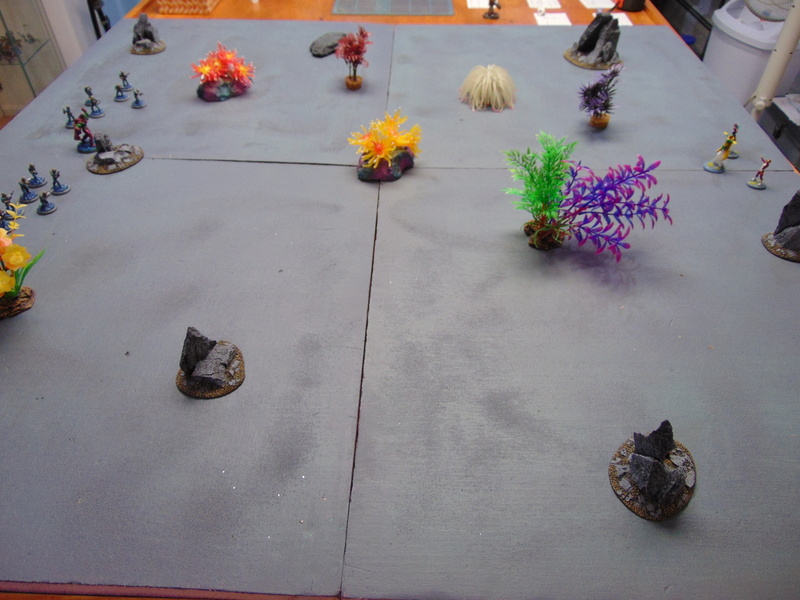
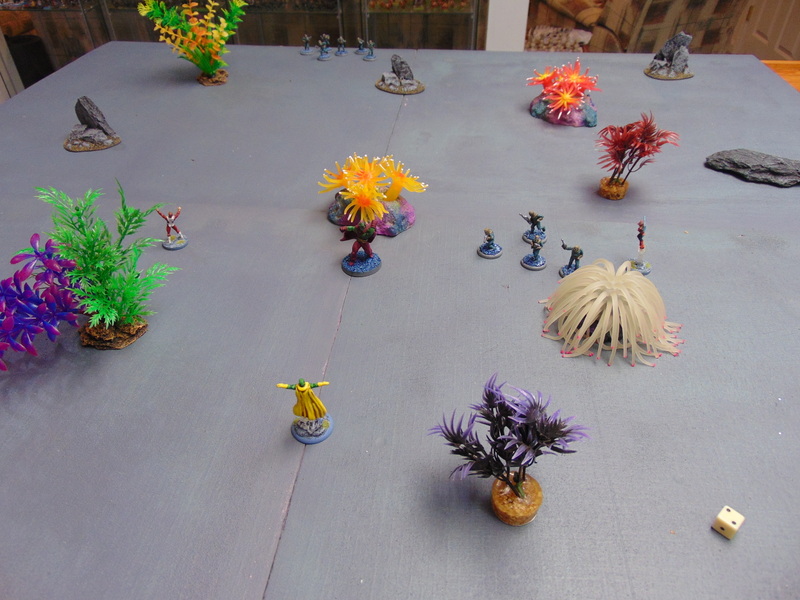
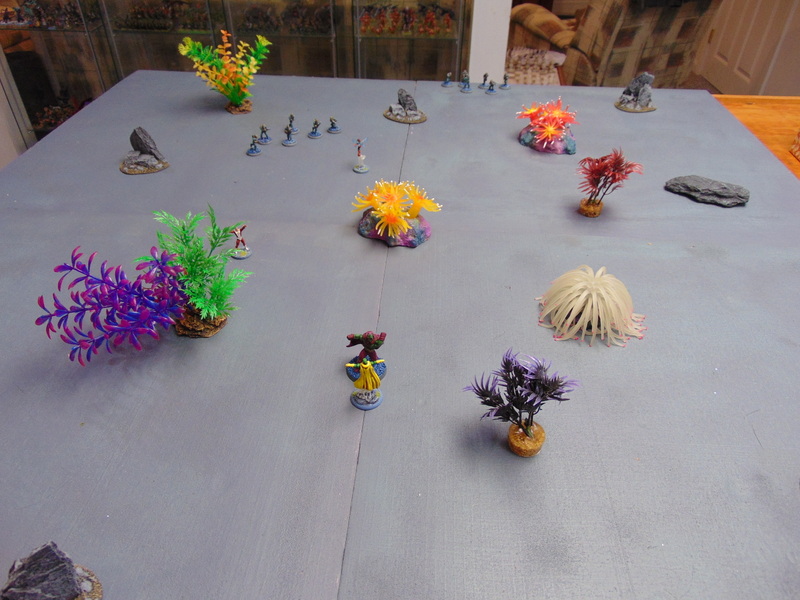
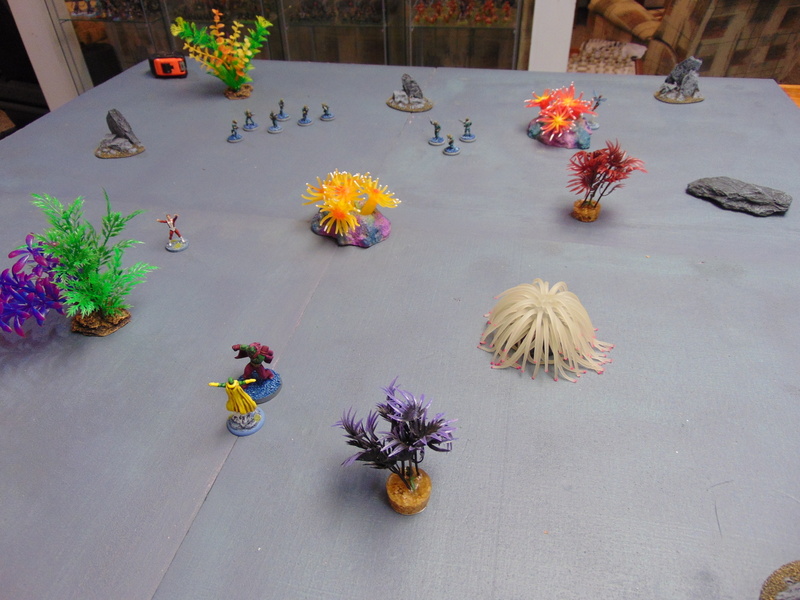
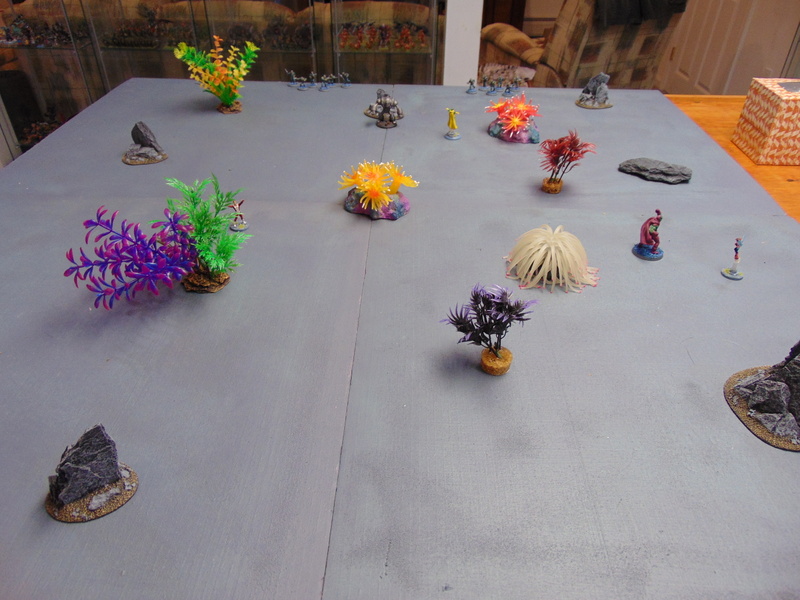
I used a 4′ x 4′ board depicting a strange area of Earth’s moon. There are rocky outcroppings and alien flora liberally scattered around the board, providing cover and blocking line-of-sight. Drax and two groups of alien henchmen set up on one side of the board. The Avengers deploy on the opposite side.
SPECIAL RULES
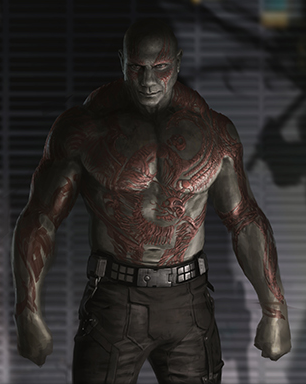
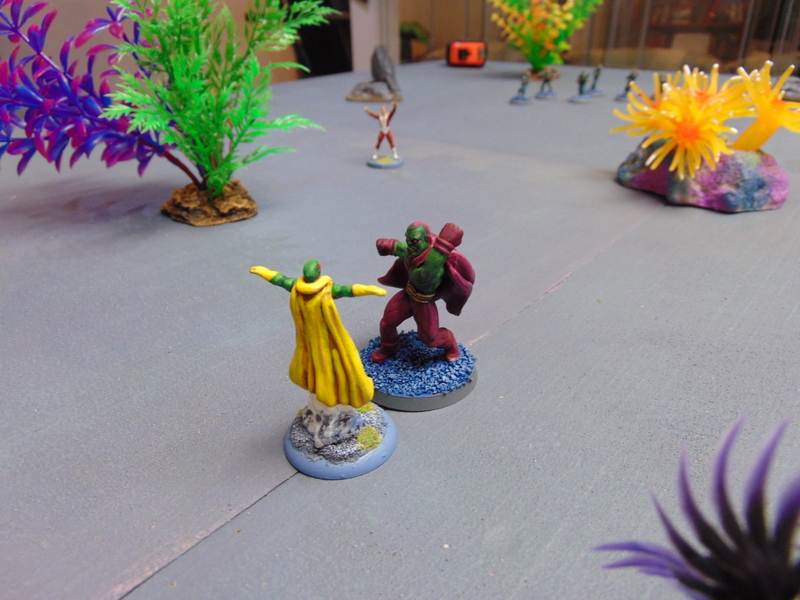
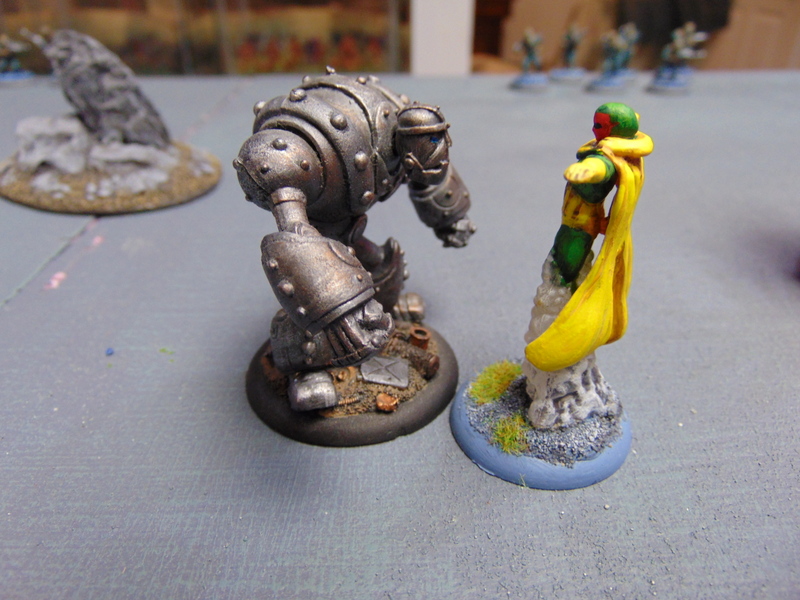
You were expecting this guy, perhaps?
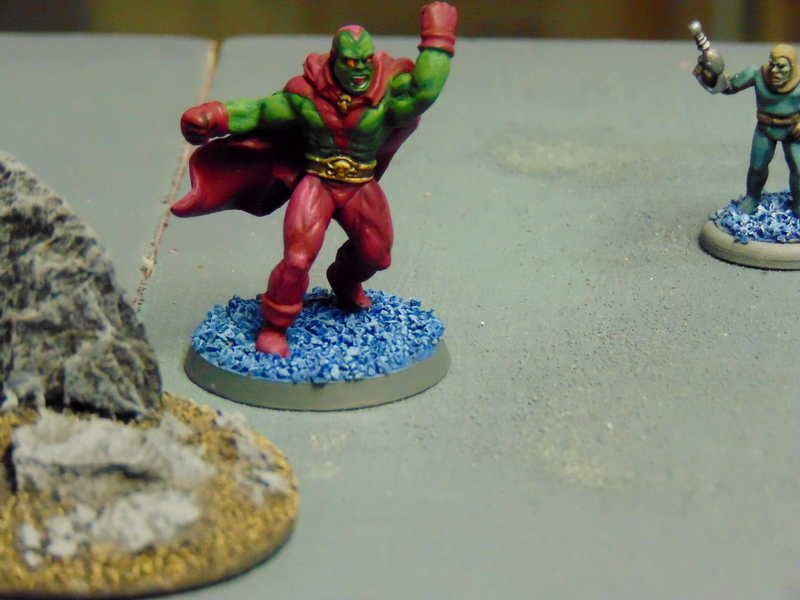
Nope! This is Drax.
Convincing Drax: Drax is no deep thinker, but he’s not a dummy, either. Something about this whole thing seems fishy to him. Any hero can spend an entire round trying to convince Drax to join their side. It requires 3 Goals on a Chance roll to persuade Drax that the aliens really work for Thanos, and he’s fighting on the wrong side. At this time in history, the only member of the Avengers Drax knows is Starfox, who he recognizes as Thanos’s brother. Drax knows Starfox and Thanos hate each other, so Starfox only needs 2 Goals on his Chance roll to persuade Drax.
The Aliens: The alien henchmen groups are endless. Once a group is wiped out, a new group will deploy from the same table edge as they did at the start of the game. This occurs at the end of the round the group is wiped out. With their jetpacks, the alien henchmen groups can get to the action fairly quickly. The aliens try to avoid physical combat, instead using their maneuverability to get into good positions from which they can shoot at the heroes. If two groups can set up a crossfire and attack the same hero in a round, they will; if not, they attack separate targets.
The BFR: In the likely scenario that the Avengers convince Drax to switch sides, the aliens deploy their last resort: a Big F(ighting) Robot. The robot fights alongside endless henchmen groups against both the Avengers and Drax while the bulk of the alien force withdraws from the Moon. The scenario ends once either the robot or the heroes (and Drax) are defeated.
ROUND 1
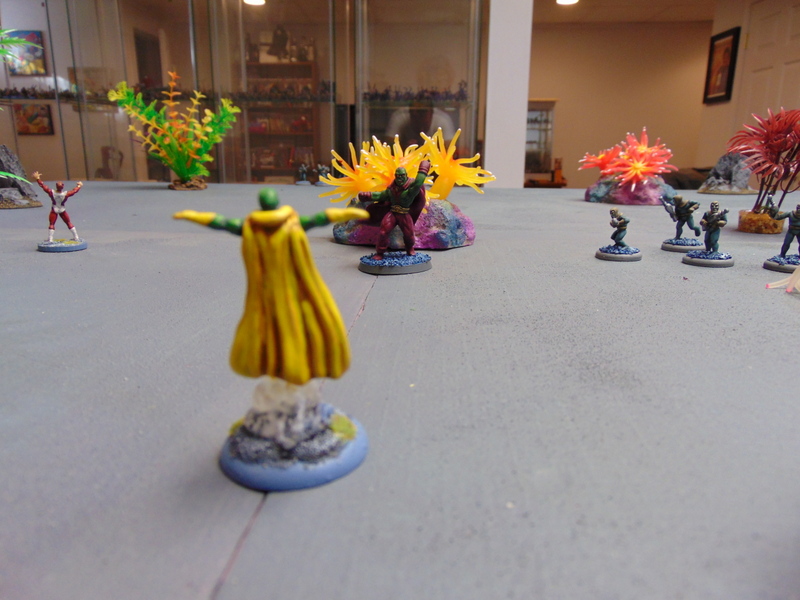
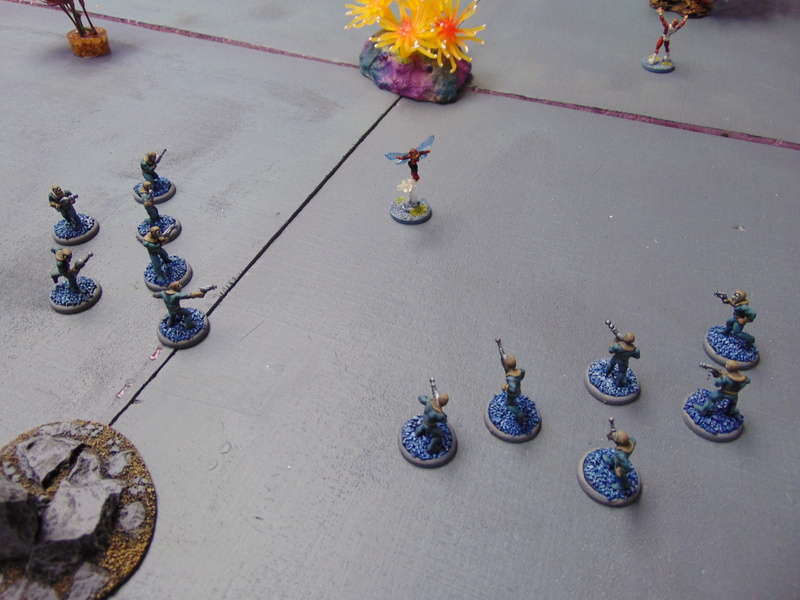
As team leader in Captain America’s absence, Wasp quickly sizes up the situation. Two groups of the aliens, armed with energy rifles and wearing what looks like jet packs. That makes them fast and dangerous. And then there’s Drax. He’s the toughest guy on the Moon, and he knows it. “Starfox, you and I will take care of the aliens,” she says. “Vision, you tie Drax up long enough so he will listen to reason.”
“Understood,” says Vision. It doesn’t sound like he’s looking forward to what’s coming. “Please hurry.”
Initiative goes to the villains. Henchmen Group #1 flies out and takes cover behind a weird alien plant, then concentrates fire on the Vision, who is barely within range. They miss. Wasp activates her Shrinking power, then flanks the group and fires off her power blasts, managing to take out one of the aliens. Henchmen Group #2 activates and flies toward the center of the board. They take aim at Wasp, trying to eliminate one Avenger at a time; but they miss, too.

>drops mike<
Starfox charges into Henchmen Group #2, and scores enough net goals to completely wipe out all 6 aliens! (I did not see that one coming.)
Drax flies out to meet Vision, but since he’s too far away to charge, he blasts Vision with his ranged attack instead. Vision shrugs it off, taking no damage, and activates his Density Increase power. He knows he’s shortly going to go toe-to-toe with Drax, so it seems like a good idea. Not wanting to provoke someone who calls himself “The Destroyer” any further, Vision fires his power blasts at Henchmen Group #1, managing to inflict 1 more casualty on the group, dropping their number to 4.
At the end of the round, Henchmen Group #2 re-spawns at the table edge. These guys are endless!
End of Round 1
ROUND 2
The villains keep initiative, and Drax wastes no time charging into combat. He belts Vision with a Haymaker that ends up doing 2 Body worth of damage. Good thing Vision activated his Density Increase power, or he would have been knocked back 8″! Vision tries to grapple Drax, hoping to bind him up and make him listen to reason. He fails; and Drax rebuffs his embrace.
Henchmen Group #1 fires again at Wasp, but she nimbly dodges out of the way.
Dude, you had one job….
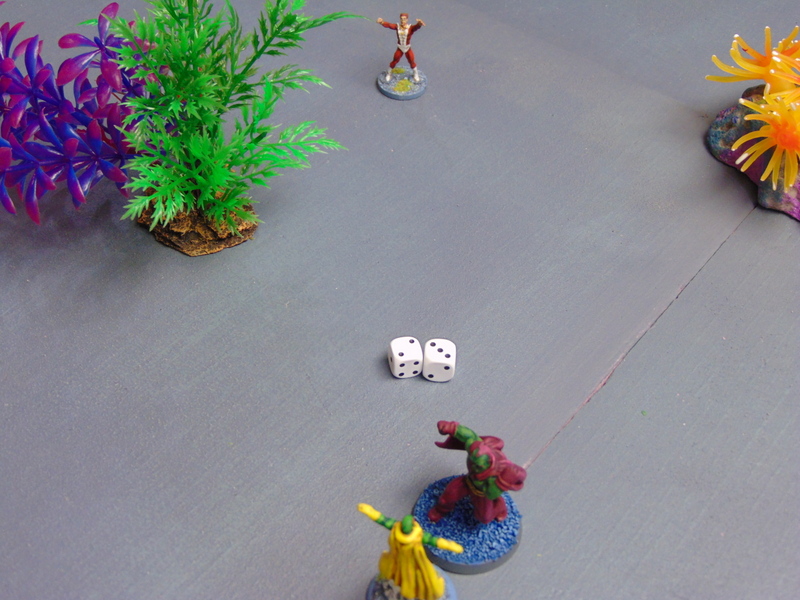
Starfox uses his entire turn to make an impassioned plea to Drax, trying to convince him that the Avengers are on his side. Even though he only needs 2 goals, he blows it. Drax silently vows to punch him in the dick as soon as he’s done with Vision.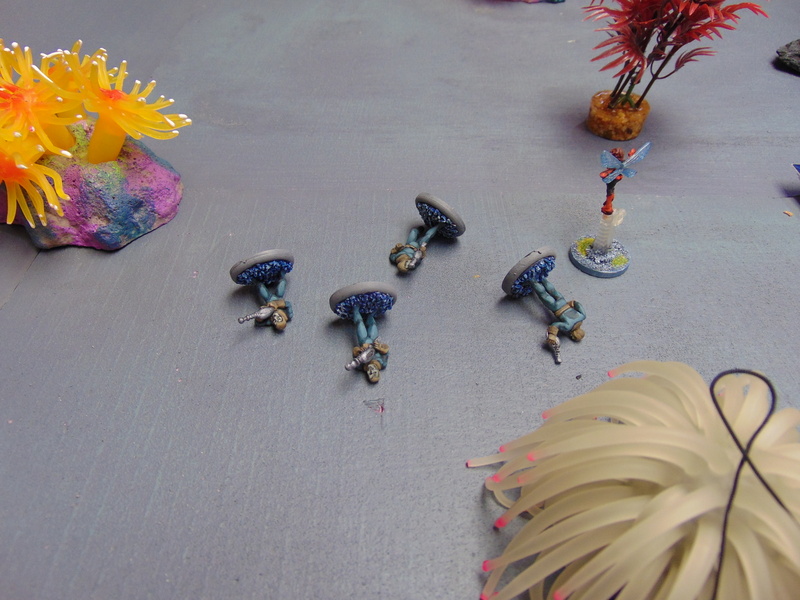
Wasp blasts Henchmen Group #1, wiping them all out before flying off towards the center of the board, where she guesses Henchmen Group #2 will soon be. She’s right. They unload their guns on her, but miss.
End of Round 2
At the end of the round, Henchmen Group #1 re-spawns at the table edge.
ROUND 3
The villains keep initiative.
Henchmen Group #1 flies out takes up position around the Wasp, setting up a crossfire with Henchmen Group #2 (already in position). They open fire and manage to clip her for 1 Body worth of damage.
Starfox tries his best to persuade Drax again, using his entire round’s actions to do so. He fails.
“Hey…er… why don’t we all just…uh…relax, Drax?” says Starfox. Drax thinks it must be pure torture to have to hang out with an idiot like Starfox. He looks at Vision with pity before punching him with another Haymaker for another 2 Body worth of damage. Vision responds in kind with his own Haymaker, but Drax just takes the hit and smiles, unhurt.
Henchmen Group #2 opens fire on Wasp, managing to hit her for another 1 Body worth of damage. Wasp is taking heavy fire, so she blasts back, taking out 3 of the aliens before high-tailing it away to seek cover!
End of Round 3
ROUND 4
The heroes gain initiative!
Starfox tries again to convince Drax that the aliens are working for Thanos, this time with success! Drax suddenly remembers were he knows Starfox from and realizes he’s been duped. Man, is he pissed!
Henchmen Group #1 chases after Wasp, firing on her and inflicting another 1 damage, dropping her to half her overall Body! Wasp fires back and blasts 3 of them before taking off. Henchmen Group #2 (only 3 strong), gives chase and fires at her again, but they miss.

“You DARE dupe Drax?!”
Drax activates, charging into combat with Henchmen Group #2. No surprise, he wipes the group out completely.

Vision targets what remains of Henchmen Group #1 with his solar gem, blasting them into unconsciousness.
End of Round 4
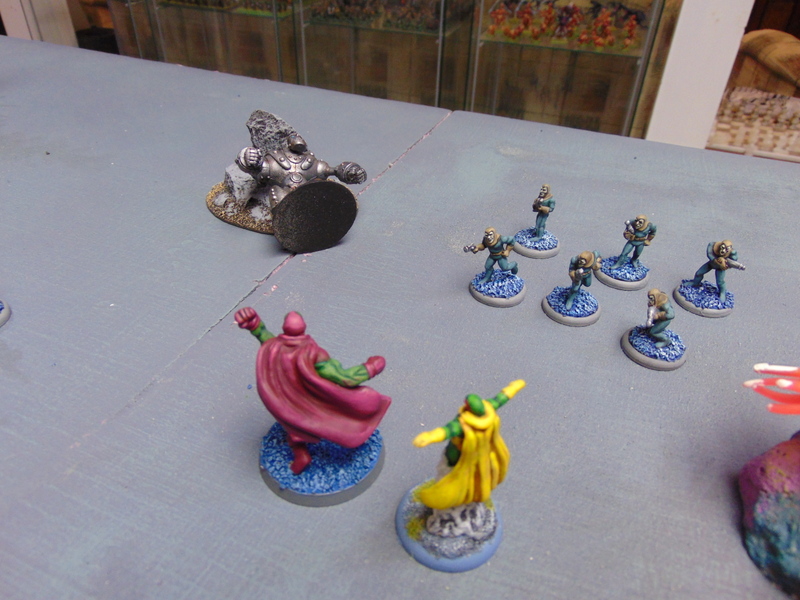
At the end of the round, both Henchmen Groups re-spawn at the table edge. Now that Drax is fighting on the side of the Avengers, the aliens deploy their secret weapon: the Big F(ighting) Robot!
ROUND 5
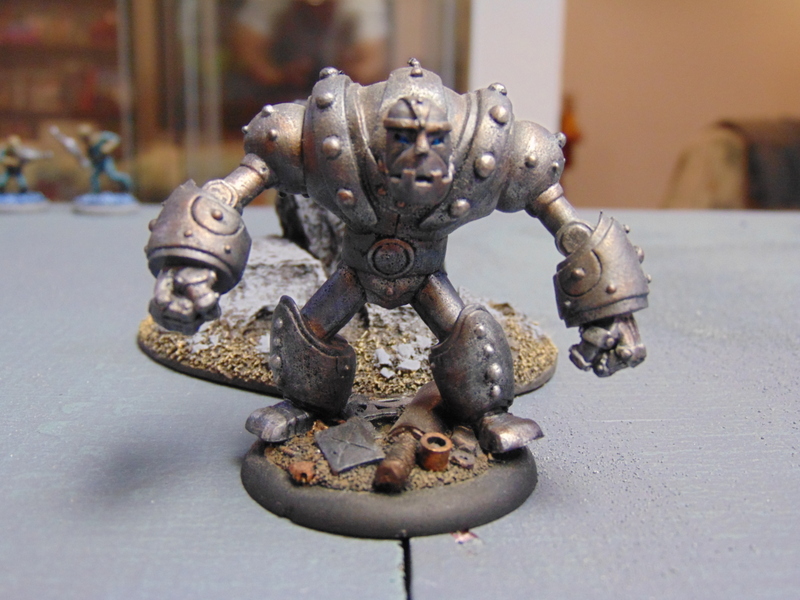
The BFR!
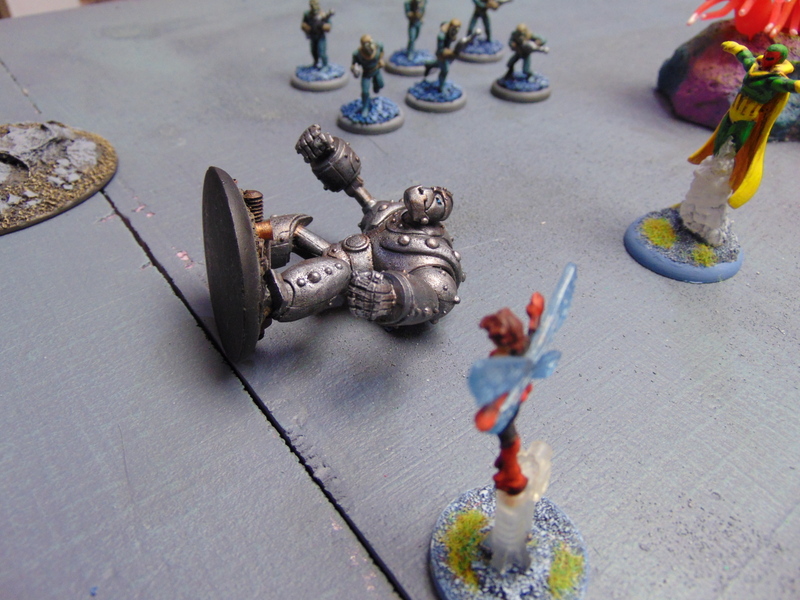
The villains take back the initiative. The BFR rumbles to life, eyes glowing with menace!
It charges into combat with the closest hero, who happens to be Vision, and decks him for a net 5 goals! Vision drops to zero Health with that one shot. Because of Density Increase, he doesn’t get knocked into next week, but he definitely needs a KO check. He passes, and manages to stay conscious!
Vision punches back, but in his weakened state he inflicts no damage. Henchmen Group #2 fires into the melee, heedless of the BFR. They’re hoping to hit Vision, who is clearly on the ropes, but they miss.
Starfox charges Henchmen Group #2, taking out 4 of them and dropping their number to 2. They’re effectively locked in melee with Starfox.
Henchmen Group #1 also fires into the melee, but they also miss Vision. Hey, they tried.
Drax charges the BFR, and busts it in the mouth (?) for 4 damage, knocking it back and down. Wasp flies over and blasts it for another 2 damage!
ROUND 6
Not many pictures here.
The villains keep initiative. The BFR struggles to its feet and charges Drax, walloping him for 2 damage and knocking The Destroyer back 8″. Drax manages to keep his footing.
Vision activates his Density Decease power, turning into a ghostly form (and protecting himself from any physical attacks). He blasts the BFR for another 2 damage. Sparks start to fly!
Henchmen Group #1 opens fire on Wasp, and riddles her with energy blasts, dropping her to 1 Body!
Being a pro, Wasp focuses on the main threat, the BFR, rather than sweet retaliation. It pays off! She blasts the BFR, doing 2 damage, dropping it to zero! It fails its KO check and is destroyed!
Victory to the Avengers!
Starfox turns, expecting to see more of the aliens coming. Instead, he sees their backs as they flee.
“It seems they are withdrawing,” says Vision, wearily. “I can’t say I’m sorry to see them go.”
“I will pursue them to the ends of the universe!” vows Drax. “I am no one’s pawn! Thanos will rue the day he dared—”
“Yes, yes… you’re welcome, Drax,” says Wasp. “But before you go, now that you know the aliens work for Thanos, promise us you won’t destroy those satellites.”
Drax looks confused, then suspicious. “What satellites?”
The Avengers exchange glances. “The ones the aliens asked you to destroy,” says Wasp.
“I don’t know who you are or what the hell you’re talking about,” says Drax. “Now get out of my way. I need to chase down Thanos’s minions and kill them. Then I need to kill Thanos.” With that, Drax flies off, just as the Avengers feel themselves once again drawn through time, summoned before Immortus!
EPILOGUE
Well, that was a quick game. It took about half an hour, not counting the time I took taking pictures and recording the action.
You may naturally ask: why did Kang want Drax delayed? Well, according to the original module, delaying Drax “allows one of Thanos’s (unnamed) schemes to proceed, which would result in the destruction of the Avengers.” Not much detail there, but I guess Kang has his reasons.
I changed the scenario, but not much. I just added the big robot, because once the Avengers convince Drax to work with them, the scenario is essentially over. Drax helps the Avengers beat on the aliens, which is really no challenge at all in SMF. I didn’t expect it to take Starfox so long to convince Drax, but the dice weren’t his friend. Despite this, Starfox is the only Avenger who didn’t get hurt at all!
This scenario allowed me to use my Pulp Figures “Radon Zombies of the Ionosphere” miniatures for the aliens. I painted them up years ago and I’ve never had a chance to game with them until now. I love these guys!
Here are my Super Mission Force builds for Drax and the aliens:
Drax the Destroyer: (Super) Major: Super Strength; Minor: Armor, Flight, Power Blasts, Resistance
Alien Henchmen: Minor: Flight, Power Blasts
Big F(ighting) Robot: (Powerhouse) Major: Scrapper, Super Strength; Minor: Armor, Construct, Resistance, Tough
Up next: “Skrulls….Why did it have to be Skrulls?”
Great AAR Keith with the classic “Heroes fighting each other till the sort it out” scenario so popular in Marvel’s of the seventies and eighties, love the original Drax figure too.
You really don’t like Starfox though do you!
Remind me that if I ever get on your bad side to buy a cricket box!!
Cheers Roger.
While I don’t genrally condone dick-punching as a civilized means of settling differences, Roger, sometimes, as in Starfox’s case, you have to make an exception. Thanks for dropping by!
Excellent stuff, Keith – even if Starfox managed to escape being injured. There’s stii time for this in the next instalment. Really good fun to read and makes me want to get my supers out and play some games with them. Hmmm…some kind of mega-crossover featuring characters from EVERY universe…Captain America vs. Doktor Reich, the Planet vs. The Thing, Bananaman vs. Batman. Might have to gove that a bit more thought.
I’m determined that Starfox’s groin should get its comeuppance at some point in this scenario. Trust me, it’s only a matter of time. And I think I speak on behalf of all supers enthusiasts, Jeremy, when I say a Batman vs. Bananaman showdown is long overdue. Those two are rumored to really hate each other.
Brilliant report! So inspiring. I cannot thank you enough for the exposure and the good vibes your reports have generated for me and SMF.
And your terrain, basing, and painting are cracking!
–Scott
No thanks necessary, Scott. I’m a big fan. And if anything, you have inspired me to get working on a rule set of my own for a project that’s been kicking around for years. Thanks for dropping by, and for the kind words!