I had the week off last week, so I decided to devote some time to terrain-making. I was inspired by the awesome series of Youtube videos by The Terrain Tutor, which I had been watching at my desk the week prior. Hey, I can productively waste time at work like nobody else. In particular, I was inspired by this video, which is a comprehensive guide to using foamboard. A lot of the tips I already knew, but there were a lot of things I didn’t know and I’m glad I watched it.
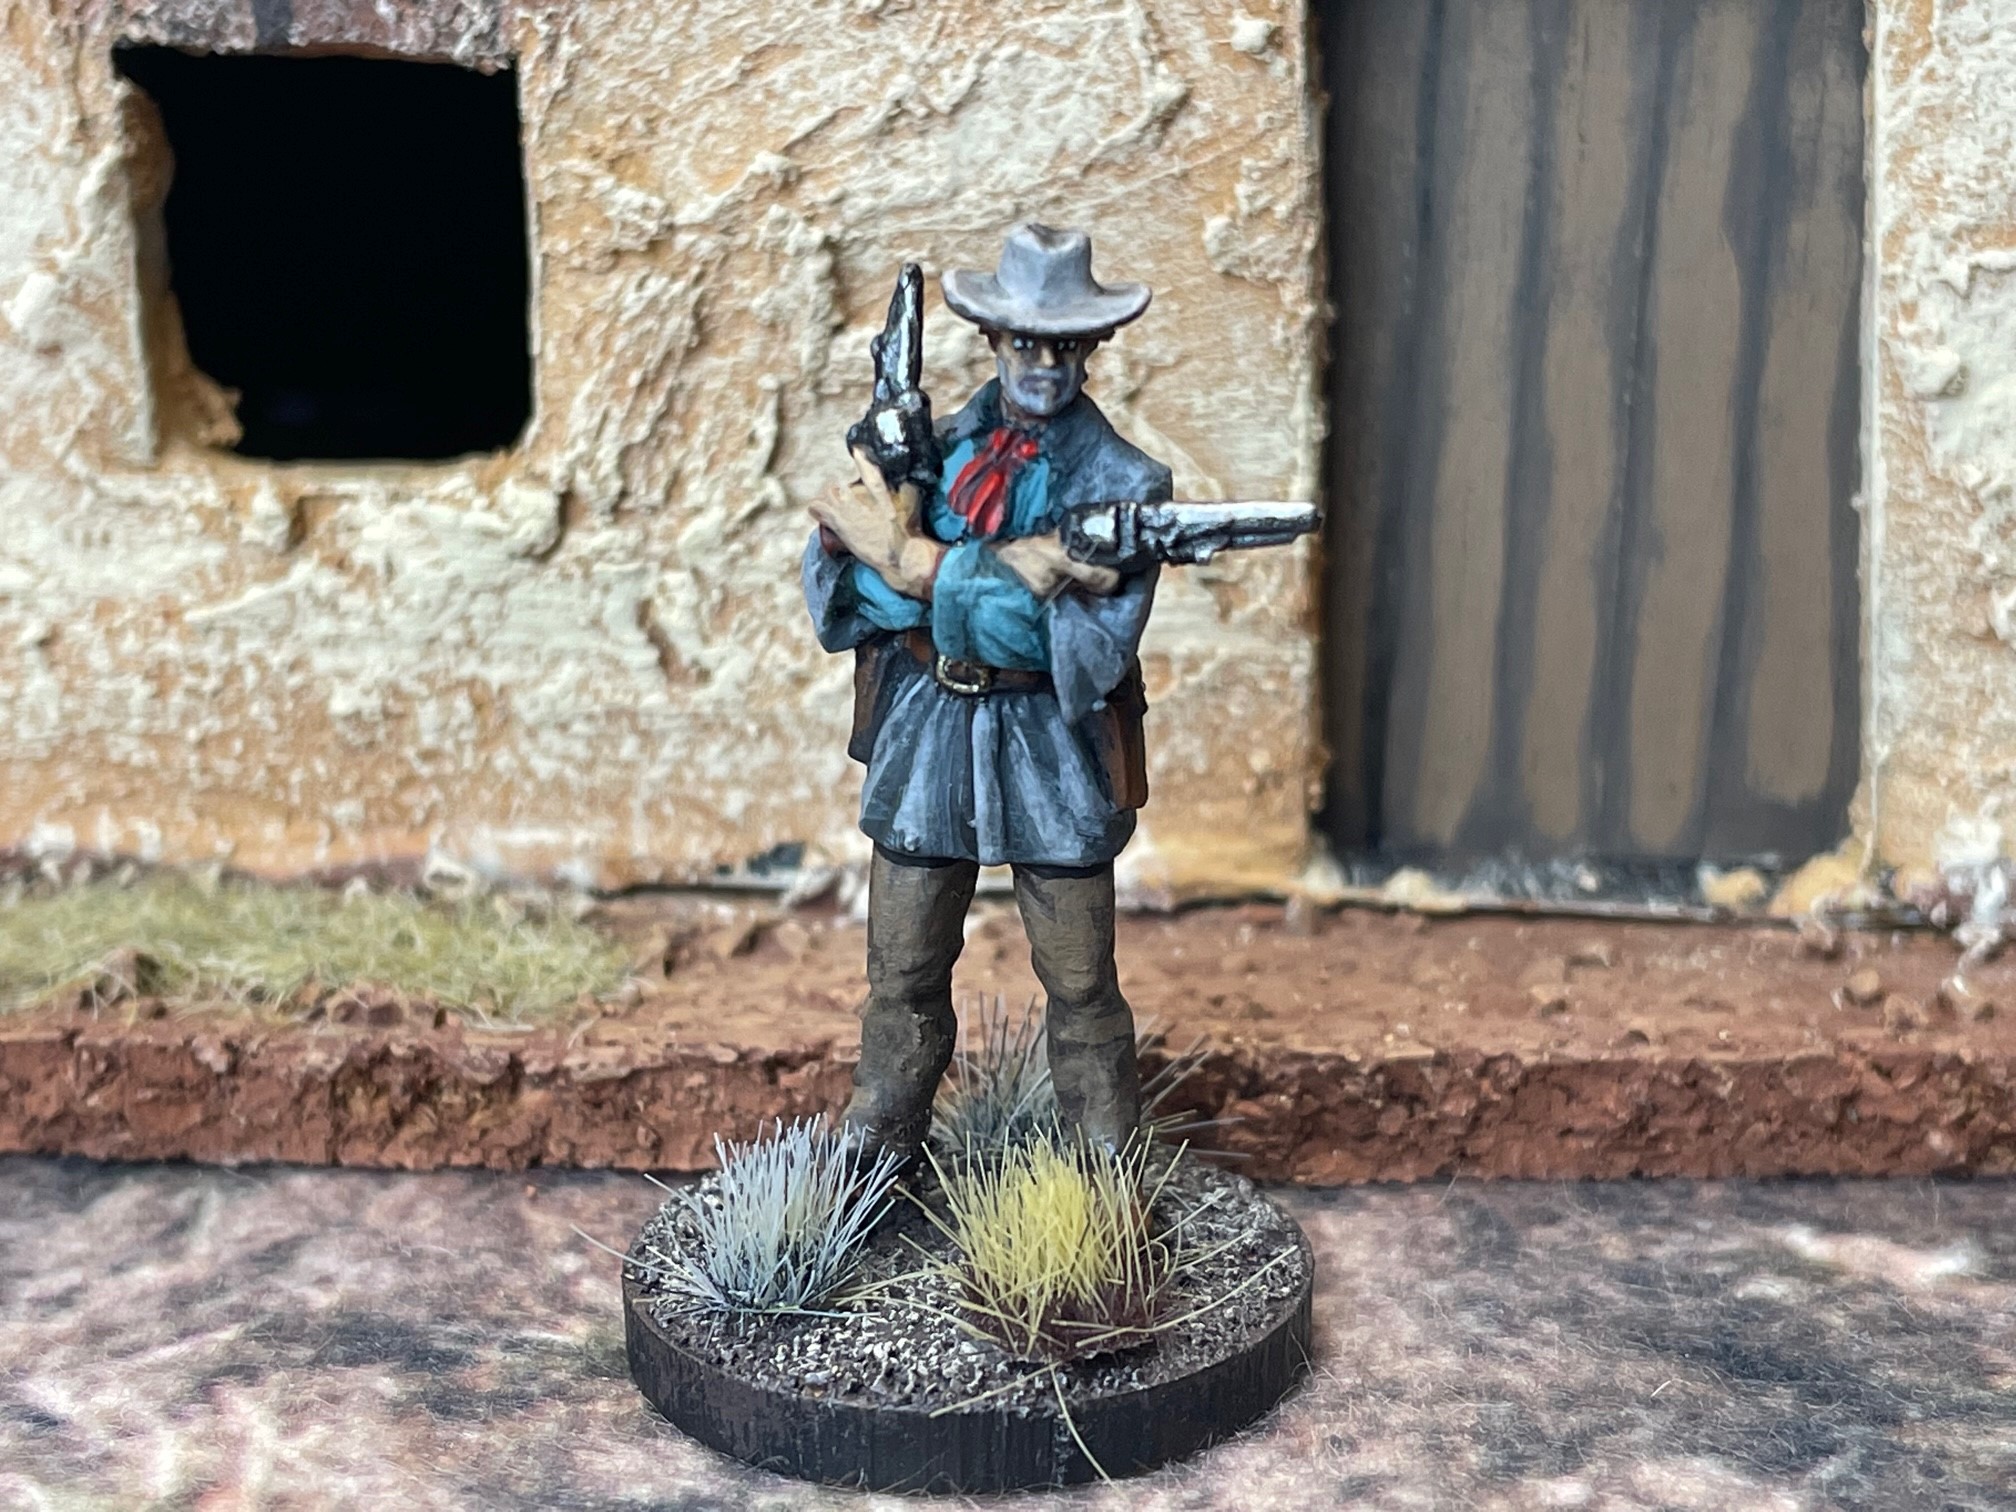
I recently decided I wanted to get into Old West skirmish gaming, and to that end I have purchased a bunch of cowboys from Blue Moon Manufacturing. Not sure what rules I’m going to use yet, but I’m leaning towards Blackwater Gulch, as it’s a free download and seems pretty easy to play. Another possibility is .45 Adventure, just because I love it so much. In their Thrilling Tales Quarterly magazine, volume 2, there was an article by a guy named “Grimm” on how to make quick adobe buildings. So, between Grimm and the Terrain Tutor, I figured I was well-prepared to start on a Mexican village, which I have decided to call Mescalero. (And yes, I know it’s an area in New Mexico and the name of an Apache tribe. So what?)
I figured I would share with you the process I used. Please note that between the two sources I mentioned above, there’s very little I did that was original or new. I’m not claiming to be an innovator when it comes to building terrain. But thought the time/process and end results might be of interest to all four of you who read this blog.

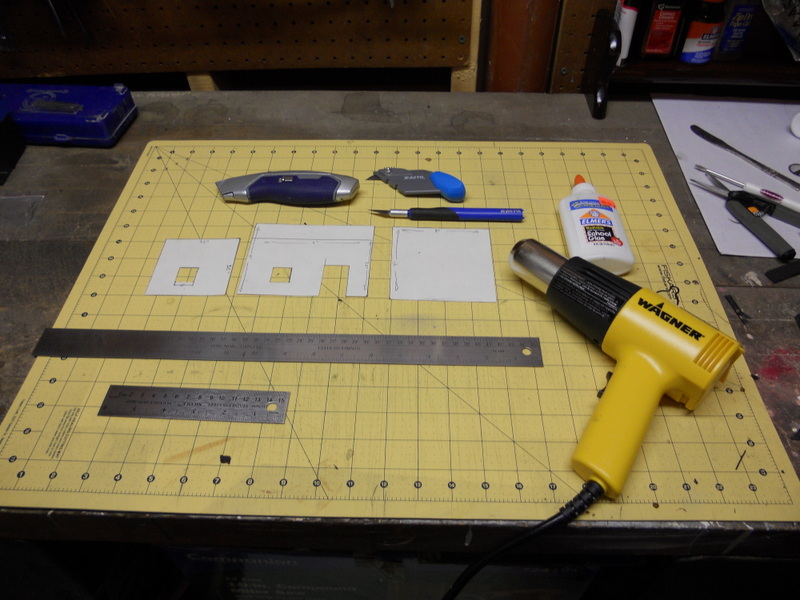
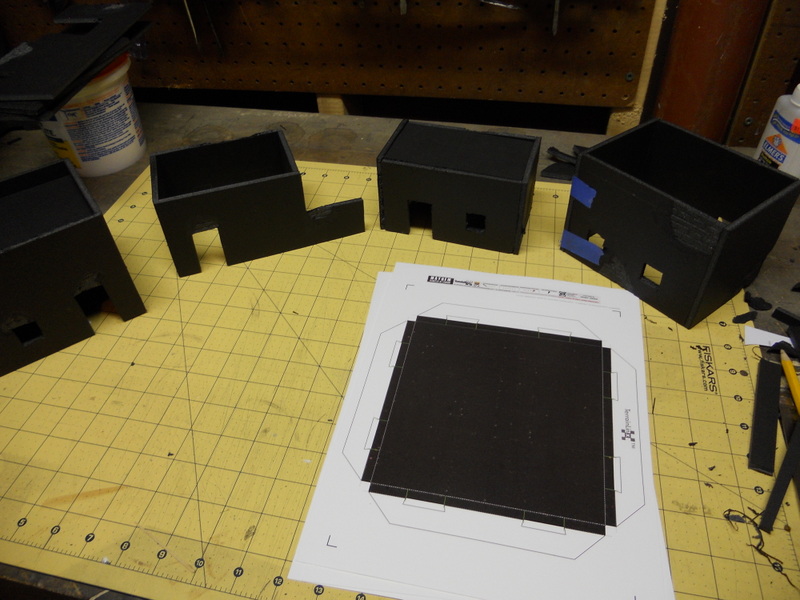
Here’s what I started with: in addition to black foamboard, I used a couple of steel rulers with cork backing, a few different types of razor knives, some Elmer’s glue and a heat gun. I traced some basic building templates on 5″x7″ index cards and cut them out.
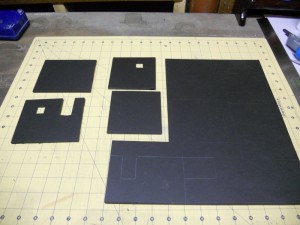
I used the templates to trace patterns on the foamboard, then cut them out using the knives and rulers. The Terrain Tutor has some great tips on how to cut foamboard cleanly and evenly, especially in hard to reach places like doors and windows. I wasn’t too worried about getting precise cuts since I was making adobe walls.

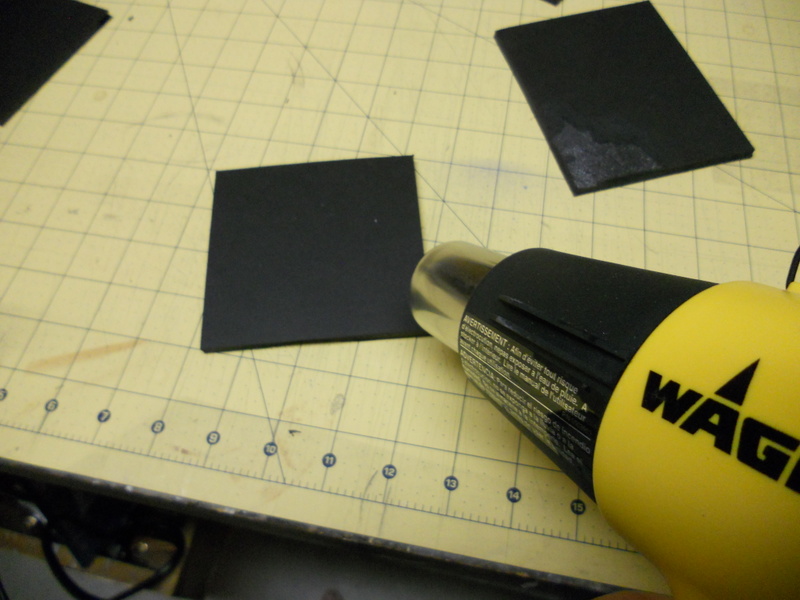
Once this was done, I used a heat gun to heat up the corners so I could easily remove the paper backing of the foamboard, creating areas where the walls have cracked. Prior to this, I did not own a heat gun. I picked this one up at Home Depot for 20 bucks.

Once the paper is peeled back, it’s easy to sculpt a brick pattern onto the foam itself. I used this old butter knife.

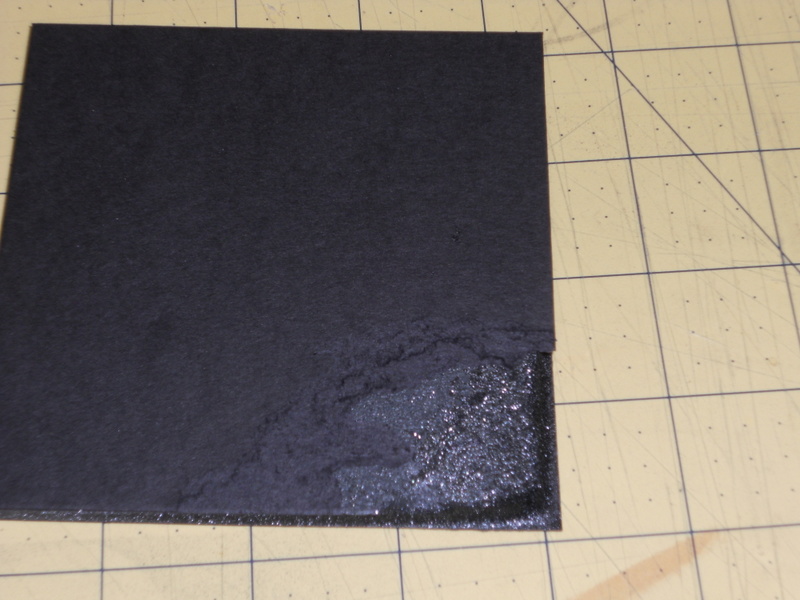
Quick tip: Heat guns are not hair dryers. They get hot quickly and will melt the foam if you keep them on too long. Too long is more than a couple of seconds. Then you get something like this, above. Notice the bottom left corner, it melted away from the paper. Oh, they can also burn you, too, if you’re not careful, so watch where you put the tip when you’re finished.

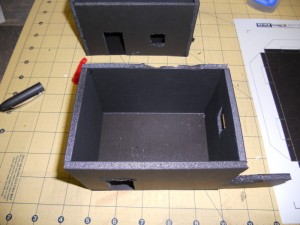
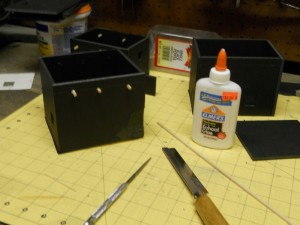
Once everything is cut out and sculpted, I assembled the buildings using the Elmer’s glue. I secured them for a good bond using pins inserted into the joins, as well as this painter’s tape. Painter’s tape is great because the adhesive is pretty weak. It will hold the joins together, but it’s easy to peel off once you’re done.
Quick tip: although painter’s tape has a weak adhesive, that adhesive will get a lot stronger if you let it sit for a while, as anyone who has ever used it to paint a room will know. In other words, It’s fine to let it sit overnight, but you should remove it the next day. Letting it sit for a few days or a week will make it very difficult to remove in one piece and may damage your foamboard. (Of course, if you’re making adobe buildings like me, that might not be a big deal. See below.)

I deviated from Grimm on the next step. He recommends cutting your base out and wrapping it in textured wallpaper to create a floor. Then he mounts the building to the base. I didn’t have any textured wallpaper, but I did have some extra Mayhem tiles from World Works Games that I hadn’t used. Considering it was going to be the floor of a building, I thought I would just use those. You can see I made several buildings before proceeding to this step.
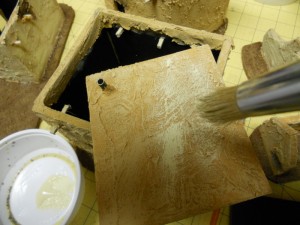
I traced the inside of the buildings onto the WWG tiles to get a template for the floors, then cut them out and glued them on with paper glue (somewhat stronger than Elmer’s) for a tight bond. You can see the results above. I also traced the inside of the building onto foamboard so I could make a ceiling.
Quick tip: Make sure you trace the inside of the building on the correct side. For example, if you’re making a ceiling, trace the inside top of the building, not the bottom. Don’t assume the floor is exactly the same dimensions as your ceiling. I know it should be, but it’s not, as unless you have a perfectly vertically-level join (which you won’t).
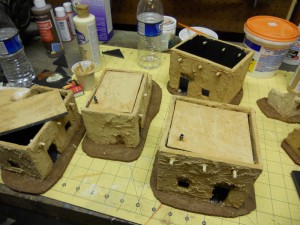
When that’s done, it’s time to give the adobe building it’s distinctive look. Here, too I deviated from Grimm’s instructions slightly. I used this awl I had laying around (I have no idea where I got it) to poke some holes in the walls a few centimeters below the top, then inserted some balsa wood as ceiling supports. I used my hobby saw to cut the balsa wood to about a 1″ length. If you don’t have balsa wood and don’t want to spend the whole 60 cents it costs to pick up a rod of this size, then you can cut the heads off some wooden matchsticks and use those. In fact, that was Grimm’s method, but I found the matchsticks I had on hand were too thin.
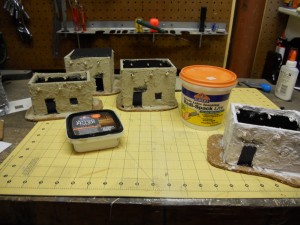
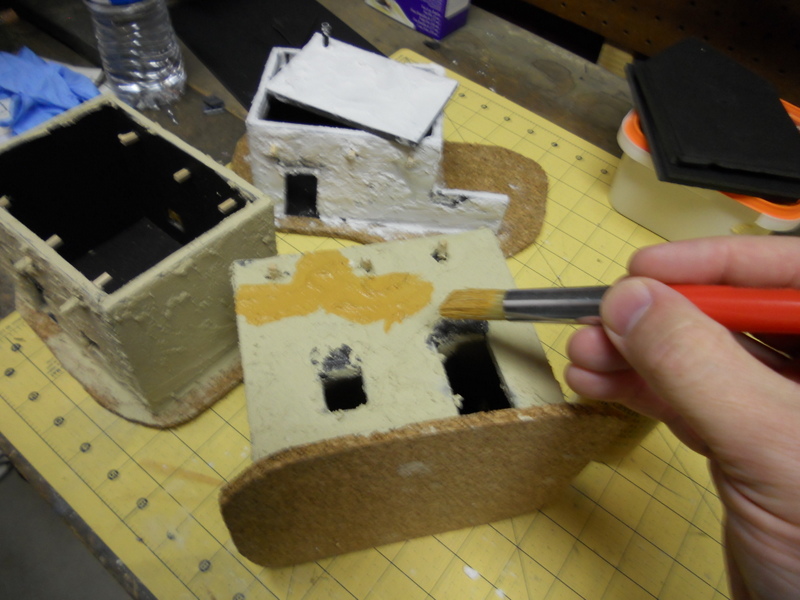
After that, attach your buildings to whatever you’re going to use as a base. I used cork tiles, as it’s easy to cut and shape. This next part gets messy, so be sure to wear latex or vinyl gloves. Using your fingers, spread a coating of wood filler or spackle over the building. Don’t worry about how messy it is, as adobe structures look rough. Make sure you avoid the areas you cut out and sculpted as you want those to show through later. I had both spackle and wood filler on hand, and I used both just to see the difference. Although the end results were much the same, I found that wood filler was easier to spread and work with, so I pretty much abandoned the spackle after the first building. But YMMV.
I decided not to use wood filler on the interior of the buildings, at least not these small ones. Instead I covered a few centimeters of the top interior, as this is the part that would be visible once the ceiling is in place. Remember when I said it wouldn’t be a big deal if you damaged the foamboard by waiting too long to remove the tape? It’s not, considering you’re covering the walls with wood filler and that will cover the tape, too. You can also leave the pins in, if you want.

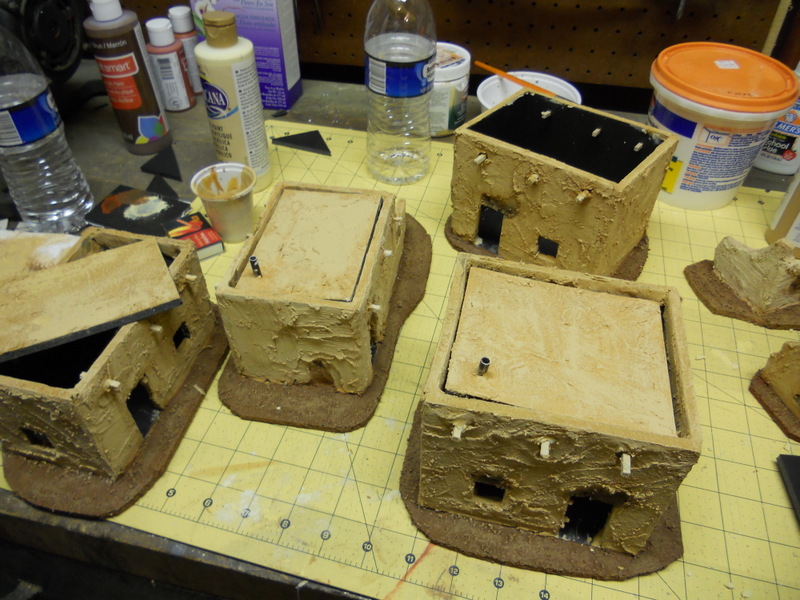
Let it dry overnight. Then you’re ready to paint it. I used craft paint, and started by painting the walls a light brown color.
Once the brown dried, I drybrushed it with successively lighter shades of tan, ivory and eventually, very little white. I painted the “exposed” brick areas a dark brown color and added a wash of black to make the bricks stand out. Oh, and I also added a stovepipe to the roof with a bit of old metal tubing I had laying around forever, and inserted balsa wood doors. I scored the doors with a hobby knife to make individual planks, and painted them brown. You can see them in later pictures.

Once the walls were painted, I used a mixture of sand, ballast and wood flue to flock the bases. Then I painted the base brown, and built up the highlights with a lighter brown and ivory paint.
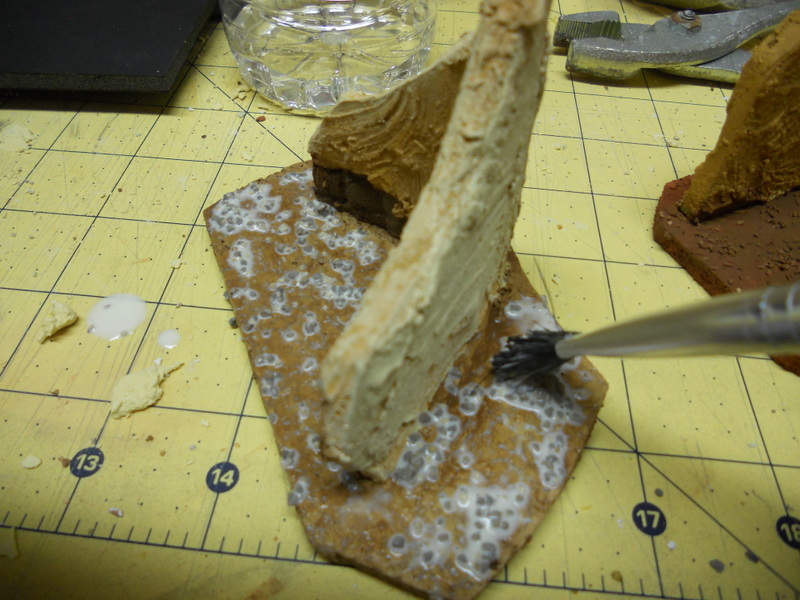
Quick tip: Don’t throw away your foamboard scraps. The piece above was made with some irregular leftovers. Put together, they make a good ruined adobe wall. I’ll be making more of these later.
I figured with the bases done, I could get creative by adding some things to them. I decided on some cacti. I bought this box of Pegasus Hobbies cacti for this purpose.
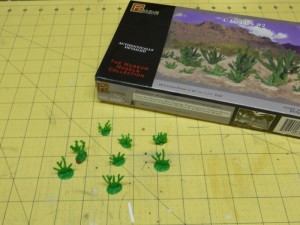
There’s enough bits in this box for over 60 little cacti (which is more than I’ll ever use). Painted up, they really look nice and add a bit of Old West flavor to the scenery. The box retails for $8.50, so not a bad deal.
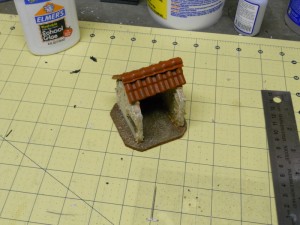
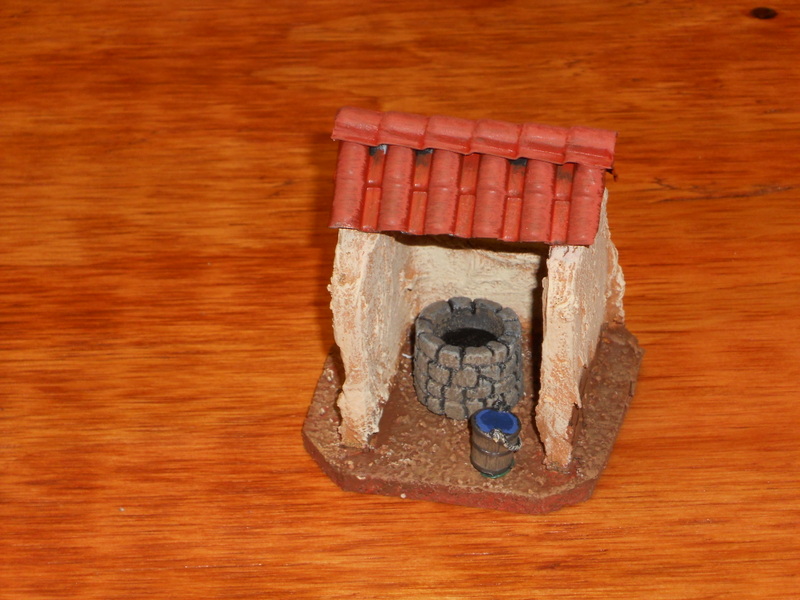
I decided to make a well as a cool little flavor piece, or maybe even a game objective. I bought a couple of sheets of modelling plastic in a Spanish tile pattern at a hobby shop for about $6, and cut a bit to cover the well. Then I painted it with terracotta craft paint.

Here’s a picture of the finished well. The well itself is from the now defunct JR miniatures (which sucks…they made some great stuff!). The bucket was an accessory from an army toy.
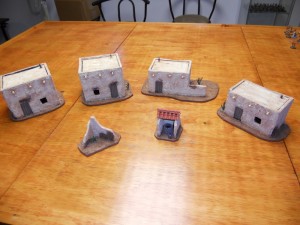
Here’s the first batch of buildings in Mescalero. It didn’t take me very long to do…a few days between the cutting, gluing, filler application and painting. A fair amount of time was spent waiting for things to dry. As you can see, I added the balsa wood doors and painted them brown. Overall I’m pleased with the results.
What’s next? Well, I’m working on a few other buildings…a stables and a small church, complete with a bell tower and graveyard. I’d like the church to be the focal point of Mescalero. I’d also like to make some two story structures and maybe a couple more small buildings. I’m also toying with the idea of an outdoor mercado, and of course, more ruins. I’ll keep you all updated with more Mescalero as it takes shape.