Tag Archives: Battlesystem

Beware the Owlbear!

The sounds of pursuit fill you with terror as you try to flee. You can hear the beast gaining on you. There’s no outrunning it! You look back in panic. The ground shakes and trees sway wildly as its enormous form crashes through the brush! It spies you, its prey…and it’s beak opens wide, giving forth a blood-curdling shriek of maddened rage:

“HOOOO! HOOOO!”

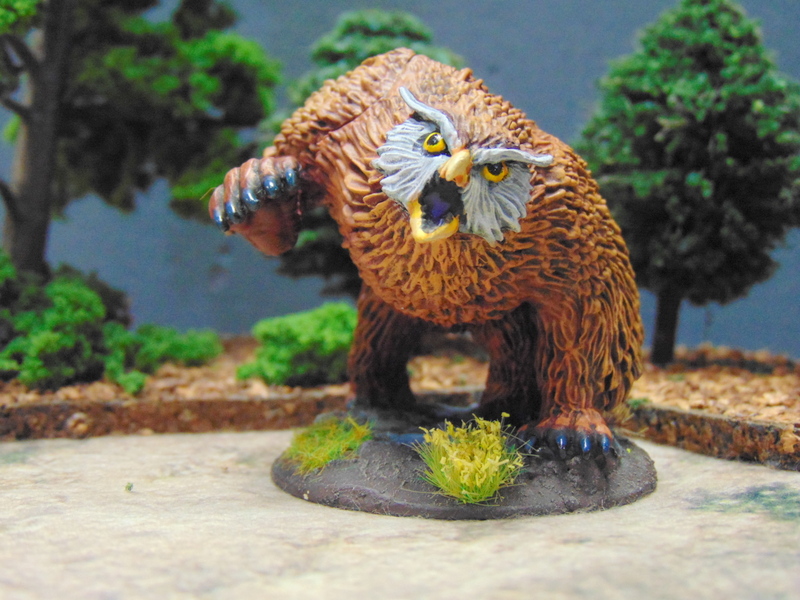
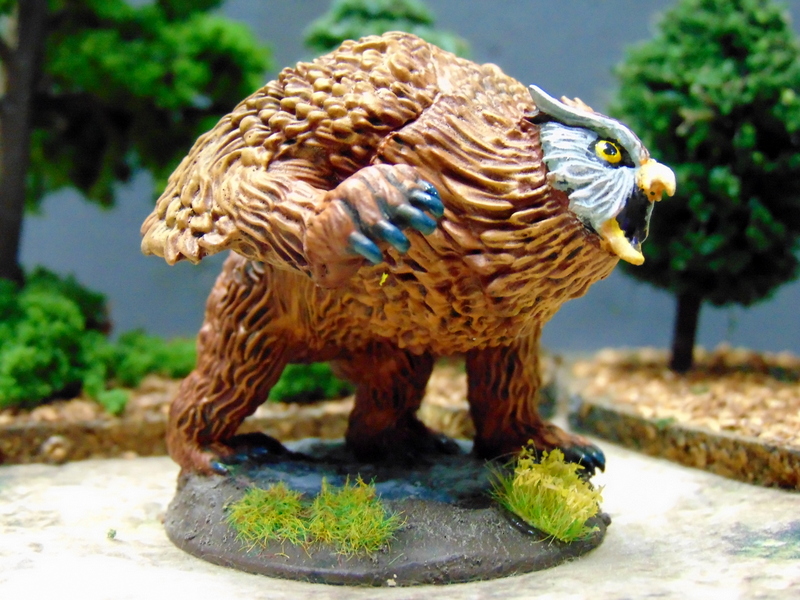
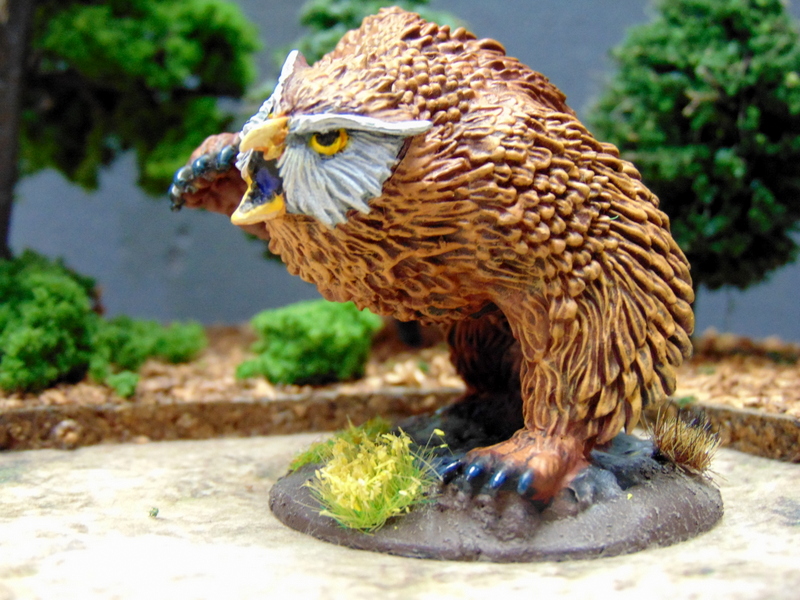
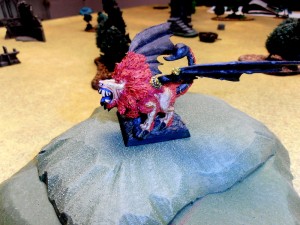
My second submission for Monster Month, a classic Dungeons and Dragons monster and one of my personal favorites: The Owlbear! The product of magical crossbreeding of an owl and a bear, this ill-tempered monstrosity attacks anything it sees on sight and fights to the death. It’s the bane of low-level adventuring parties everywhere!

This owlbear comes from Nolzur’s Marvelous Miniatures, which is a line I can’t say enough good things about. They’re inexpensive, digitally sculpted, and generally very good-looking, especially the monsters. I’m less jazzed about the personalities (character classes, etc.), but YMMV.

The miniature was easy to paint and practically highlighted itself. The texture of the feathers and fur takes washes and drybrushing quite easily. I think it took me about 2 hours or so, which is pretty fast for me.

I still have four projects I’d like to get to this month, but realistically it’s probably not going to happen…so I have to prioritize. There’s one big one I really want to complete because I’ve been staring at it forever!

Check out all the other participants in Monster Month. Visit their sites and see what they’re up to!

Blogroll

Roger, aka Dick Garrison, from Rantings From Under the Wargames Table

Dave Stone from Wargames Terrain Workshop

Matt from PMPainting

Coyotepunc from Coyotepunc’s Creativity

Ken from Blue Moose Arts

Jeremy, aka Carrion Crow, from Carrion Crow’s Buffet

Harry from War Across the Ages

You can find links to all these blogs (and others) in the sidebar as well!

Happy Painting!

The Blighted Watchtower: A Battlesystem AAR Part 2


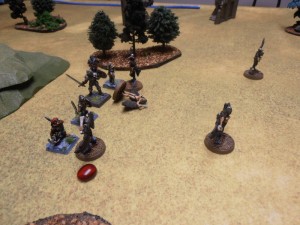
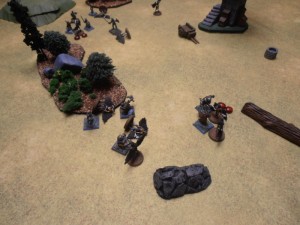
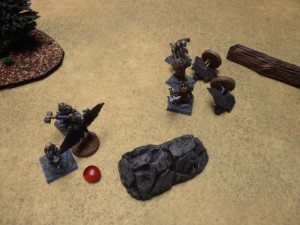
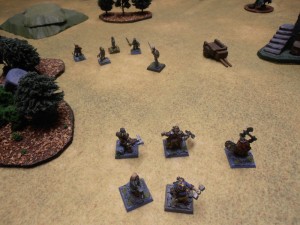
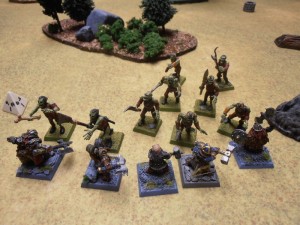
The two parties eye each other warily across the clearing, both groups knowing the other’s intentions are the same: to plunder the watchtower and secure whatever riches may lie within.

But as each group rushes to be the first to the tower, they are besieged by more monsters! Harpies descend upon the adventurers, shrieking madly!

(I modified the harpies somewhat. In Battlesystem Skirmish, harpies have 7 hits each! Since each party was facing five harpies, I thought that was too many hits to have to deal with based on the characters’ Attack Dice. I reduced the harpies’ hits to 3 each. Turns out I probably shouldn’t have, but live and learn.)

The gnomes gain initiative for the round, and waste no time in attacking. Durwald shoots a harpy with his Crossbow of Accuracy for 1 hit, while Graflin strategically casts Gust of Wind, grounding the harpies and making them more vulnerable!

The harpies attack next, and all attempt to Charm their opponents with their seductive song. Among the dwarfs, Boris, Reglan and Grimnar fail their saving throw and are Charmed! Poth and Siegfried resist the magical song. The gnomes don’t fare much better, as Stengil, Durwald and Ashlock all fall victim to the song, while Graflin and Cavram, the human, both save and resist it.

Finally the dwarfs get to attack, but since three of them are charmed, it falls to Siegfried and Poth to defend their friends. Poth throws an axe at a circling harpy, inflicting 1 hit. Siegfried takes the opportunity to cast Dispel Magic and free his friends from the magical charm!

The harpies gain initiative next round, and tear into the gnomes! Their filthy claws rake Stengil for 2 hits, and both Ashlock and Cavram take another hit each. Meanwhile, the other group of harpies attack the dwarfs, wounding both Reglan and Siegfried for 1 hit each. The dwarfs respond. Both Siegfried and Poth manage to wound their opponents, but not enough to kill any.


The gnomes fight last in the round, but good things come to those who wait. Cavram slaughters a harpy out of hand, while Graflin casts Fear on the group. 2 of the harpies immediately rout, breaking the charm! At the end of the round the harpies check morale again, and fail spectacularly with a natural 20! The group of harpies is so panicked they are paralyzed for 2 rounds!!


The harpies win initiative for the next round, but only the group fighting the dwarfs is in any shape for combat. Both Poth and Siegfried take a wound each. The gnomes attack the vulnerable harpies on their side of the clearing, with predictable results: Cavram kills another harpy, while Ashlock wounds another. Graflin steps back and casts Melf’s Acid Arrow, killing yet another harpy.

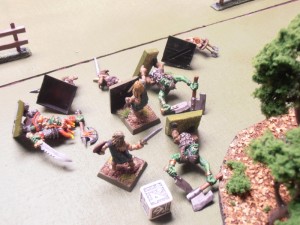
Finally, the dwarfs fight back. Both Grimnar and Siegfried kill their opponents, Boris manages to wound one of the harpies facing him. The harpies check morale and roll a 1!!! These harpies, unlike the ones fighting the gnomes, now have a permanent +2 to morale for the rest of the battle. They’re not going anywhere!

Unfortunately for the harpies, the dwarfs gain initiative next round and waste no time maintaining their offense. They kill 2 more, leaving a lone harpy facing 5 angry, wounded dwarfs!

Meanwhile, the gnomes finish off the harpies facing them. Cavram kills one on the charge while the remaining gnomes clean up the rest. The lone harpy facing the dwarfs attacks Siegfried in a frenzy, wounding him for 2 hits!!! Siegfried sways on his feet, down to 2 hits from his original 6. Ouch! Being vastly outnumbered and facing certain death, the harpy checks morale and fails. She is shaken!

The dwarfs act first next round, and Grimnar wastes no time taking the remaining harpy’s head off her shoulders. Siegfried takes the opportunity to cast Cure Light Wounds on himself, healing one hit. On the other side of the battlefield, Graflin prepares himself for further combat (possibly with the dwarfs???) by casting Shield on himself, increasing his armor!

The two parties square off across the clearing. Each takes the opportunity to consolidate their grouping. Siegfried also casts his remaining Cure Light Wounds on himself, restoring him to 4 hits.

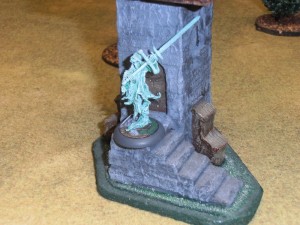
But wait! Suddenly a malevolent  presence is felt. At the watchtower’s door, a spectral form takes shape! Could this be the source of evil that has blighted the watchtower these many years??? Will the warbands join forces to defeat it?

Maybe someday we’ll find out, but not today. That’s as far as I got before my bedtime.

The Blighted Watchtower: A Battlesystem AAR: Part 1

I’ve been going through miniatures gaming withdrawal lately, so I threw down some scenery and played a game all by my lonesome. I chose Battlesystem Skirmishes as my ruleset du jour. Even though I played this one solo, I managed to have a good time.

The Scenario

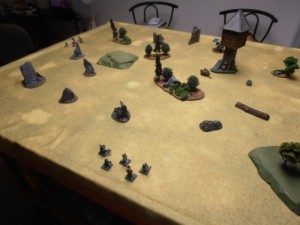
Amid ruins in an ancient forest stands an ancient watchtower, long rumored to be haunted. Anyone who has ventured there has never returned, but that has only fed the rumors of treasure and glory just waiting to be had by those daring enough to brave the danger.  Two parties of stalwart adventurers set off towards the watchtower with equal intent: to make their fortunes, destroying anything that would stand in their way.

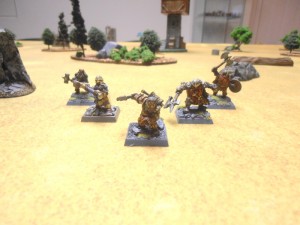
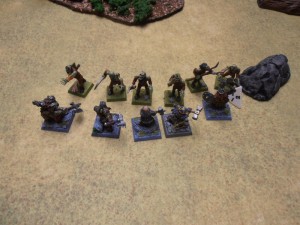
First up: a group of dwarves: (L-R) Poth, Siegfried, Grimnar, Boris, and Reglan. All are warriors with the exception of Siegfried, who is a cleric. Grimnar is the leader, an 8th level fighter. Boris and Siegfried are both 6th level, while Poth and Reglan are 5th.

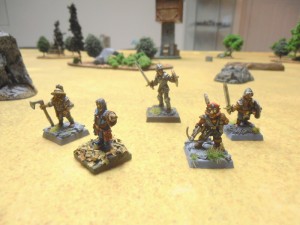
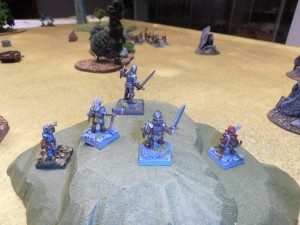
Next up: a group of gnomes and their human mercenary hireling: (L-R) Stengil, Graflin, Cavram, Durwald, and Ashlock. All are warriors with the exception of Graflin, who is the leader and an 8th level wizard. He is supported by his brother gnomes; Stengil, Ashlock and Durwald, all 6th level fighters, and Cavram, an 8th level human fighter.


The dwarves approach the watchtower from the south, while the gnomes make their own stealthy approach from the west. Soon, they are not alone!

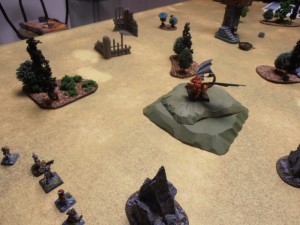
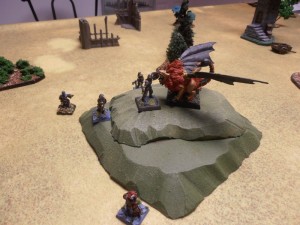
On the crest of a nearby hill, a manticore appears, bellowing a challenge! The gnomes prepare for combat!

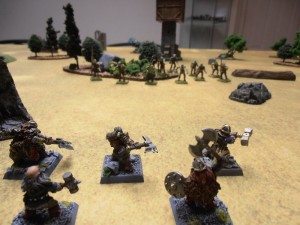
Meanwhile, to the south, the dwarves steel themselves as some zombies come lurching out of the woods!

The battle is joined! No sooner do the gnomes move than the manticore lashes out with its tail spikes. It fires a volley at Cavram as the human moves towards the hill, inflicting 1 wound. Meanwhile, the zombies charge into the dwarves. Grimnar wades into the fray, easily destroying one zombie. Boris manages to wound a zombie, but takes a wound himself. Siegfried steps forward and calls upon his deity, turning 6 of them immediately. They flee from the cleric’s true faith, but not for long…

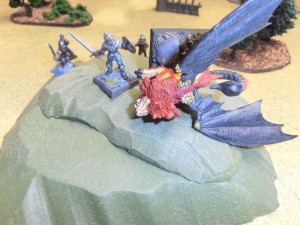
Meanwhile, Graflin, the gnome mage, casts Reduce upon the manticore! The beast fails its save and is reduced by one size level, losing one attack die and incurring a penalty on further attacks! Durwald shoots the manticore with his Crossbow of Accuracy, hitting easily and inflicting 1 wound!

At the end of the turn, a mysterious evil force rallies 3 of the fleeing zombies. They turn and shamble back towards the dwarves…


The next round, the manticore gets initiative. He wastes no time in firing his tail spikes, this time at Graflin! Even with the reduced Attack Dice, Graflin takes 2 wounds as the spikes rip through him! Cavram charges up the hill at the manticore, hitting it for 3 wounds! Graflin casts Magic Missile, inflicting another wound on the beast, while Durwald shoots it again for yet another wound! The manticore, down to 1 wound, checks morale, and rolls a 1!! The enraged beast will stay and fight to the death! (Manticores are dumb.)

Meanwhile, to the south, the dwarves square off against the zombies. Boris, Grimnar and Siegfried all put a zombie down, while Reglan wounds one. The zombies fail to wound any of the dwarves, since most of the dwarves killed them before they could fight. Since they’re undead and not being turned, zombies don’t have to check morale. They fight on.

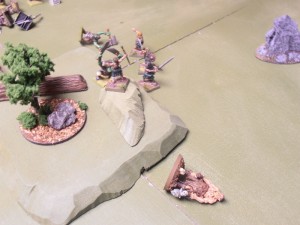
The manticore manages to wound Cavram once before the human runs it through, putting it down once and for all. The gnomes reconvene at the top of the hill, where they get their first look at the rival warband to the south, still fighting off the zombies. They set off quickly, hoping to reach the watchtower before the dwarves!

Meanwhile, the dwarves destroy the remaining zombies with relative ease.

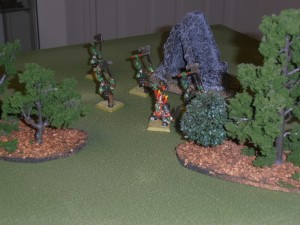
The dwarves regroup and move north, intent on plunder. They round a grove of trees only to spy the gnomes moving towards the tower! Will it be a race, or will the two parties fall upon each other??

Part 2 up soon!

First Battlesystem Skirmish

It’s weird how I’ve been into miniatures and roleplaying since fifth grade, but I never actually played a miniatures game until I was in college. Then, like many others I got roped into Warhammer and 40K. I completely missed out on Battlesystem. Wizards of the Coast just released a new free ruleset compatible with 5th Ed. AD&D, but I have no interest in using the new version of AD&D. The old rules are found easily enough on eBay, and they’re based on 2nd Edition AD&D (the version I played all through high school and college) so I picked up a copy.

We got more snow over the weekend (because we really needed more of it), and I had just finished my highlander warband, so I figured why not try the skirmish rules out? So here’s my first Battlesystem  Skirmishes After Action Report!

I chose Highlanders vs. Orcs as the forces. The highlanders were made up of two clans: The Mac Layrs (Green/Blue) and the Rennies (Red/Blue). I split them into separate units based on clan. Bran Mac Layr was the commander (a level 6 hero), and he was supported by Rory Mac Layr, (a level 3 cleric). The remaining 2 Mac Layrs were generic level 1 human fighters. The Rennies were all level 1 human fighters.

The orcs were led by Varg (Level 2 orc leader). Varg commanded 4 Level 1 orcs. Also on the orcs side was Gogzarak, an ogre (Level 4 monster). As a monster, he can move and act independently. I used the generic stats provided in the Battlesystem rulebook for all the miniatures.
OLYMPUS DIGITAL CAMERA


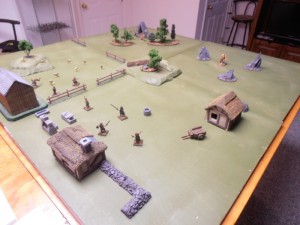
The orcs and the ogre are attacking the highlander settlement in the hopes of grabbing some sheep. The highlanders are trying to stop them. (Insert your own highlander/sheep joke here.) I deployed the Rennies in the pasture and the Mac Layrs in front of the houses. The orcs were deployed in the woods, and Gogzarak was deployed on his own, across from the Mac Layrs.
OLYMPUS DIGITAL CAMERA

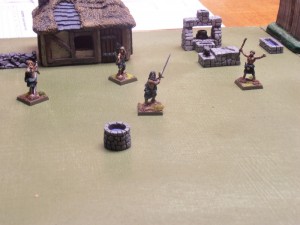
That’s Bran Mac Layr with the claymore, near the well.  Rory Mac Layr (the cleric) is all the way on the right.
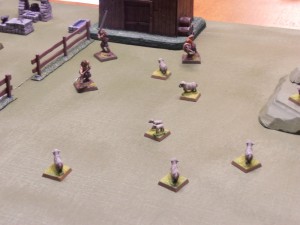
OLYMPUS DIGITAL CAMERAThe Rennies are among the sheep.


OLYMPUS DIGITAL CAMERA


Varg is leading his orcs out of the woods.
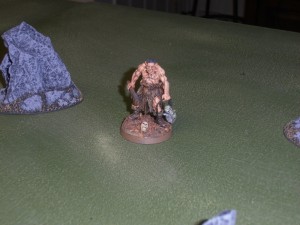
OLYMPUS DIGITAL CAMERA

Gogzarak the ogre is on his own, taunting the Mac Layrs.


ROUND 1:
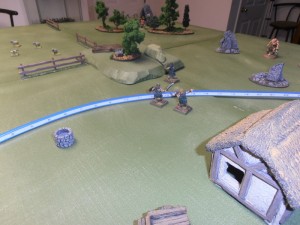
OLYMPUS DIGITAL CAMERA


The monsters win initiative, which means the highlanders move first. Using this cool bendy-ruler, I measured out their full move (12″). No way are the Mac Layrs letting some scummy ogre get anywhere near their houses! Unfortunately, this puts them well within the ogre’s charge range.
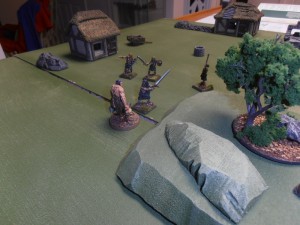
OLYMPUS DIGITAL CAMERA

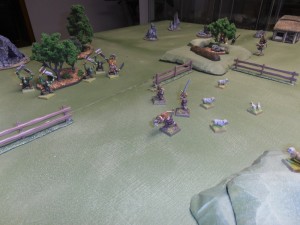
Gogzarak charges Bran Mac Layr, bellowing as ogres do. He smacks Bran for 1 hit. Bran responds, but rolls a 1. He misses, and initiative immediately switches to the highlanders (weird rule).
OLYMPUS DIGITAL CAMERA

In the pasture, the Rennies move to intercept the orcs as the come out of the woods. Neither side can reach melee this round.

ROUND 2
OLYMPUS DIGITAL CAMERA

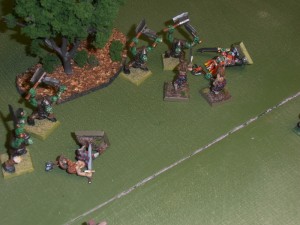
The Rennies charge into combat. Two of them concentrate on Varg, the leader, while the other closes with an orc. The strategy pays off as both Rennies score hits and Varg dies. In response, one of the orcs kills one of the Rennies.
OLYMPUS DIGITAL CAMERA


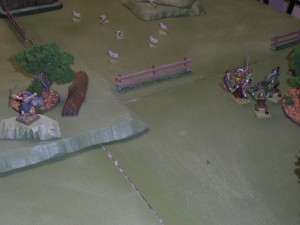
Meanwhile, Rory Mac Layr moves to the hilltop to better support both units. He casts Bless on the Rennies, giving them +1 to THAC0 and +1 to Morale. But it’s the orcs that have to check morale this round since their leader was killed. They pass and stay to fight.

The other  Mac Layrs all attack Gogzarak, and he attacks back, but no one hits anybody.

ROUND 3
OLYMPUS DIGITAL CAMERA


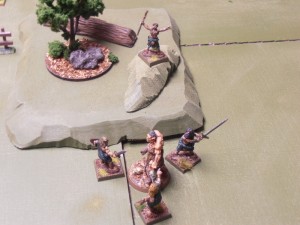
Bran Mac Layr circles Gogzarak  to get the +2 THAC0 bonus a rear attack gives. The other Mac Layrs flank the ogre. Bran hits Gogzarak for 2 hits! The other Mac Layrs miss. So does Gogzarak. Hoping to further support the Rennies, Rory Mac Layr casts Hold Person, rooting two orcs to the spot.
OLYMPUS DIGITAL CAMERA

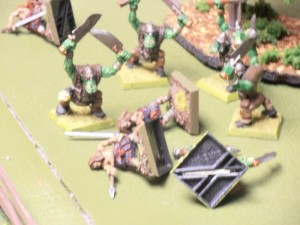
However, despite his support, the two unhindered orcs still manage to cut down the Rennies like cornstalks.

ROUND 4
OLYMPUS DIGITAL CAMERA


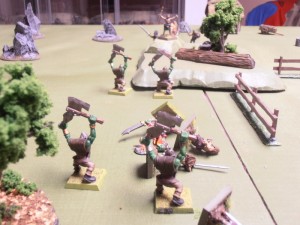
The two orcs who are still able to move break off and move towards the cleric on the hill. The Mac Layrs and Gogzarak fight another ineffective round of combat with no casualites. Seeing two orcs approaching his position with ill intent, Rory casts his final spell: Cause Light Wounds. One of the orcs drops dead halfway up the hill. The remaining orc checks morale as he had to form a new unit as a result of combat (the other orcs couldn’t move with him because they were held). He fails and is shaken.

ROUND 5

Bran kills Gogzarak. The orc rallies. (Sorry, no picture.)

ROUND 6
OLYMPUS DIGITAL CAMERA 

OLYMPUS DIGITAL CAMERA


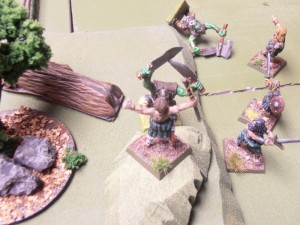
The lone orc charges the cleric while the Mac Layrs circle the hill. Even though the cleric has +1 THAC0 due to being on a higher elevation, he misses. The orc wounds the cleric for 1 hit.

ROUND 7
OLYMPUS DIGITAL CAMERA

OLYMPUS DIGITAL CAMERA

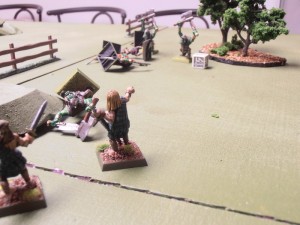
Rounding the hill, the Mac Layrs spy the held orcs and charge. Showing no mercy, they put the filthy greenskins to the sword!

Bran charges the orc from behind, but misses. So does the orc and so does the cleric.

ROUND 8
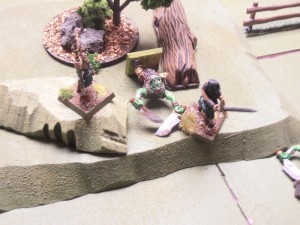
OLYMPUS DIGITAL CAMERA


Bran Mac Layr kills the last remaining orc, cleaving him in twain from behind. Victory to the highlanders! Alas, the proud Rennie clan has fallen. Cue the bagpipes!

ANALYSIS:

Battlesystem Skirmishes is pretty easy to learn, especially if you have ever played 2nd Edition AD&D. This whole game took about 25 minutes to play, including the time I took looking up rules and taking pictures. It seems the forces were unbalanced in favor of the highlanders, despite the monsters having more points on their side. I purposely didn’t use missile weapons, which may have altered the battle for both sides.

The cleric seemed to make the most difference in this game. Although his Bless spell didn’t do much, his other two spells really made a difference in how the game played out. If I played this skirmish again I would bulk up the monsters a bit by giving them missile weapons or maybe a shaman of their own.