
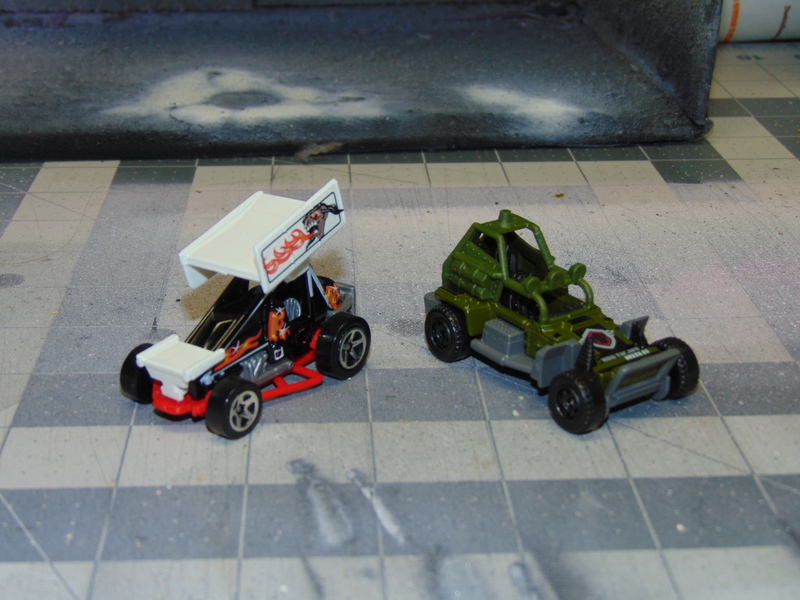
After building one car, a couple of buggies and my armored bus, I realized I needed more cars, as one car does not a wasteland racing team make. Here’s what I started with:
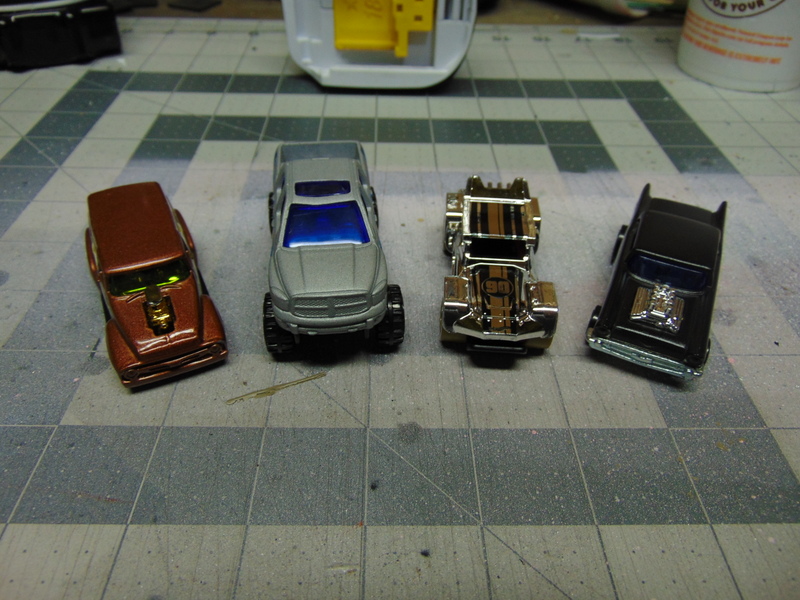
Three cars, including a classic ’57 Chevy, and a Ford F150 pickup (the preferred vehicle of the Angry Piper’s brother).
This was the first time I needed to de-rivet the cars, as most of them had open windows and I wanted to add some wire mesh to the inside before I repainted them. I found this how-to video on Youtube from, of all people, Mike Hutchinson, the creator of Gaslands, wherein he shows you exactly how quick and easy it is to take apart a toy car:
Except, of course, it isn’t. At least not for me. What I discovered was that you need a cobalt drill bit if you’re planning on going though anything metal, otherwise all you’ll do is lock your drill bit and say nasty words. Once you get a cobalt drill bit a little bit bigger than your rivet, start drilling on a low setting and you’ll eventually get there.
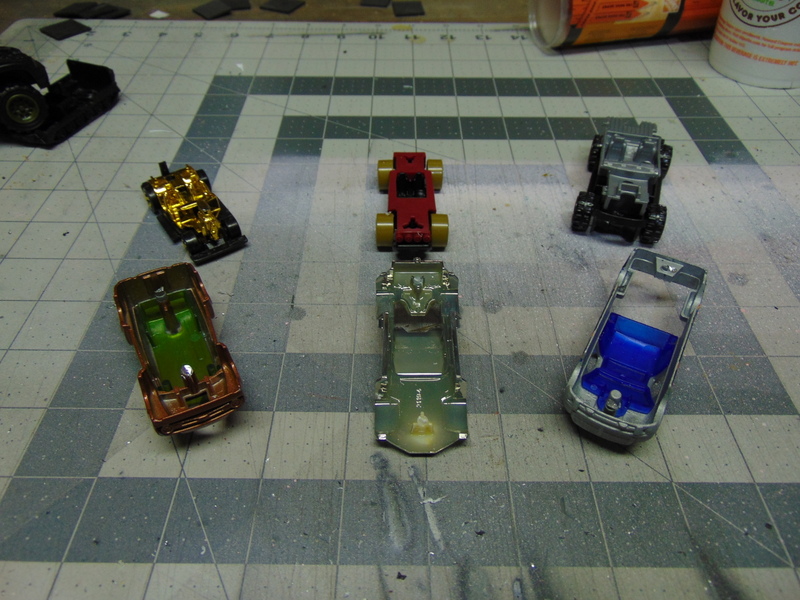
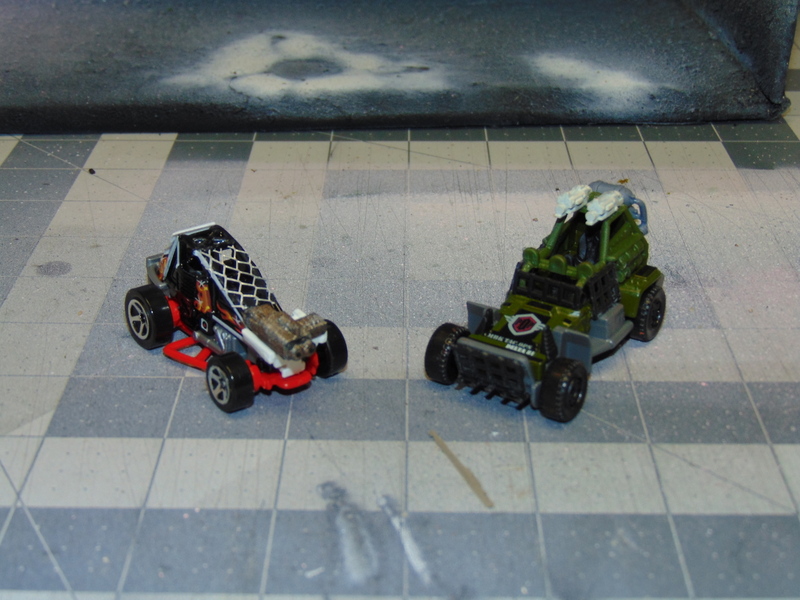
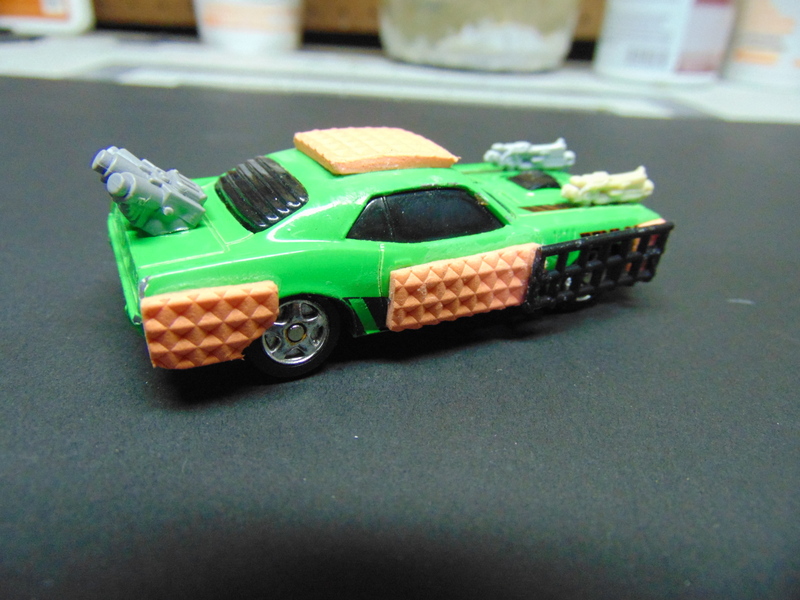
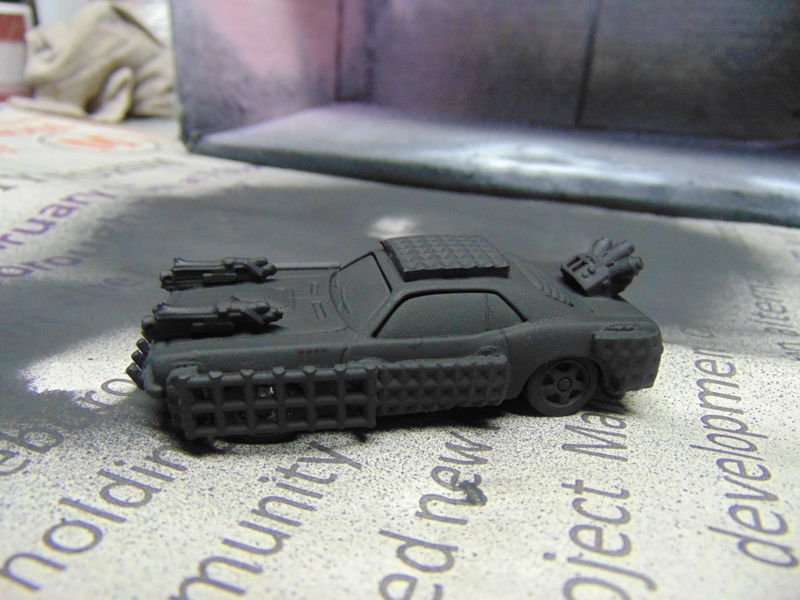
Anyway, once de-riveted, I set about adding wire mesh, weapons and armor to the cars. Never mind the pickup truck for now, I had other plans for him.

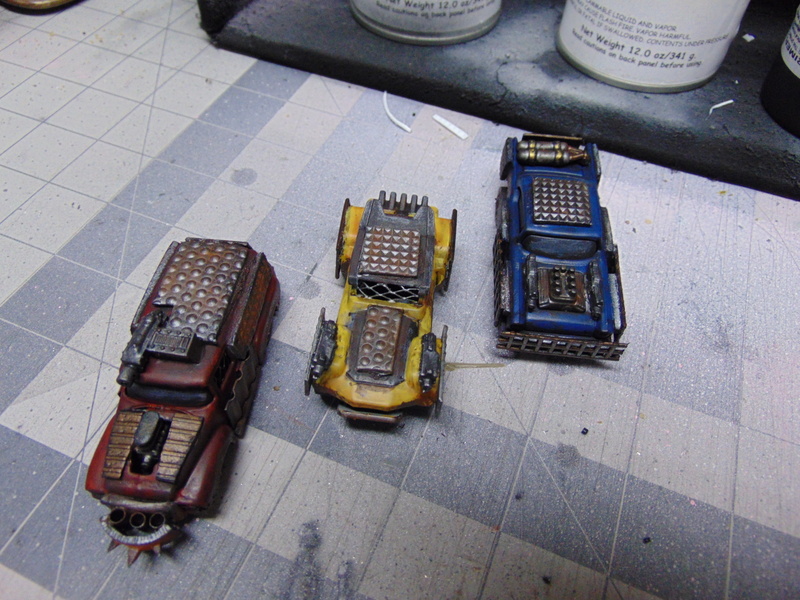
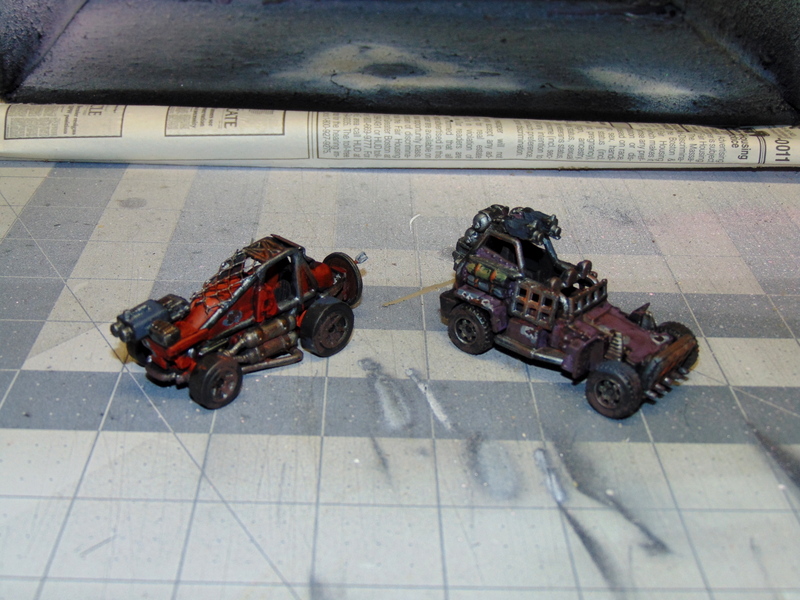
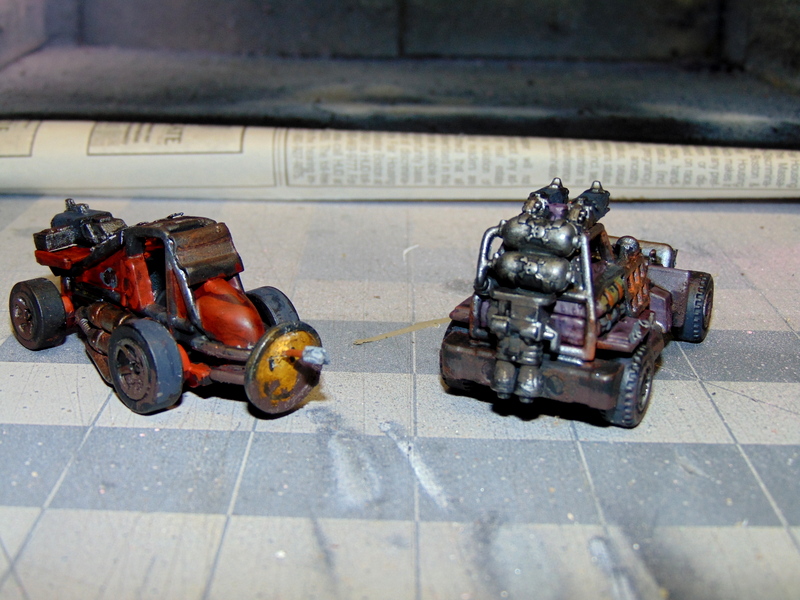
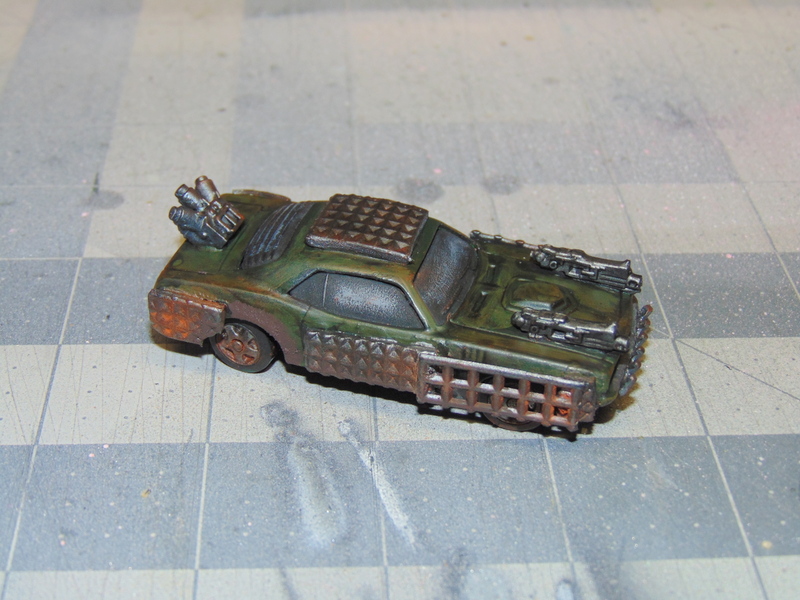
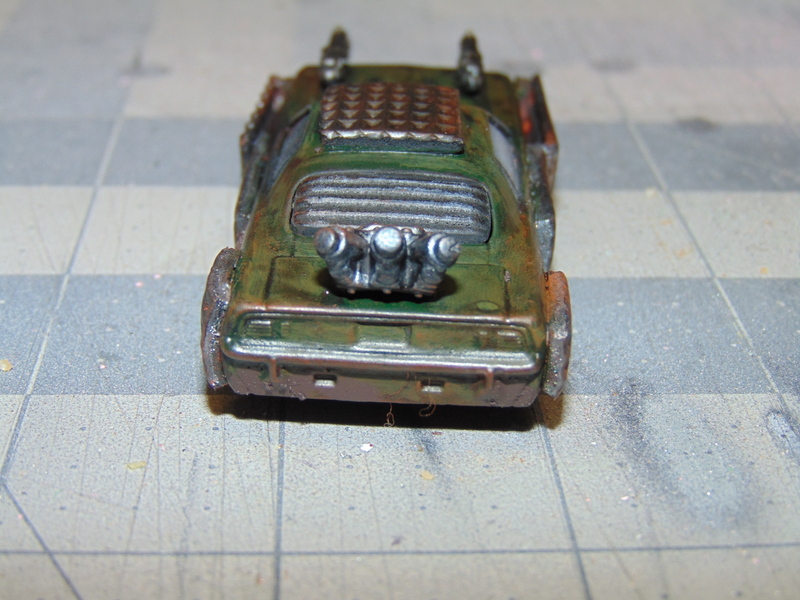
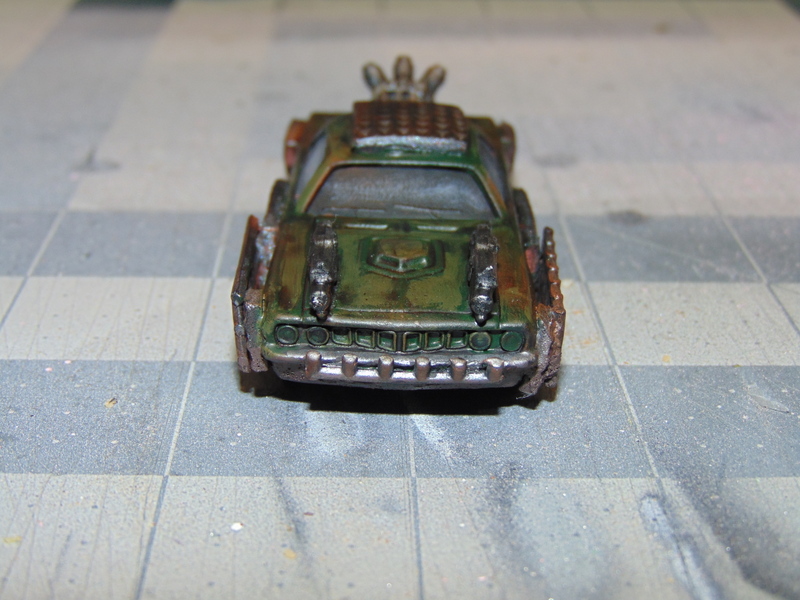
Here they are completed: Bully-boy, Bullwhip and Stagger Lee! Bully-boy has a front-mounted machine gun and a forward ram. Bullwhip is actually the official name for the Hot Wheels car I used, and it sounds cool enough that I don’t need to rename it. He has front-mounted machine guns and a caltrop or oil slick dropper. Stagger Lee, the converted ’57 Chevy, has front-mounted machine guns and a nitro booster.
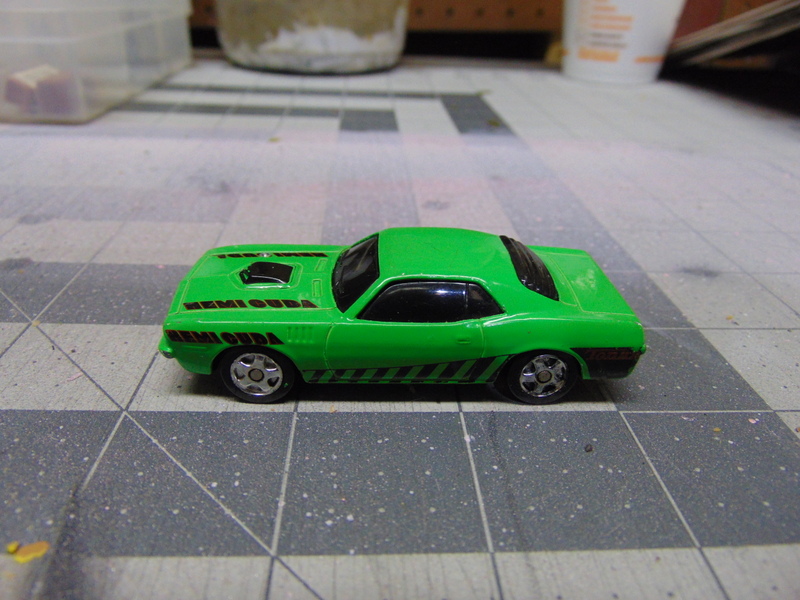
Of course, I then, quite innocently, found myself at a place where they sell yet more Hot Wheels cars. So I bought three more.
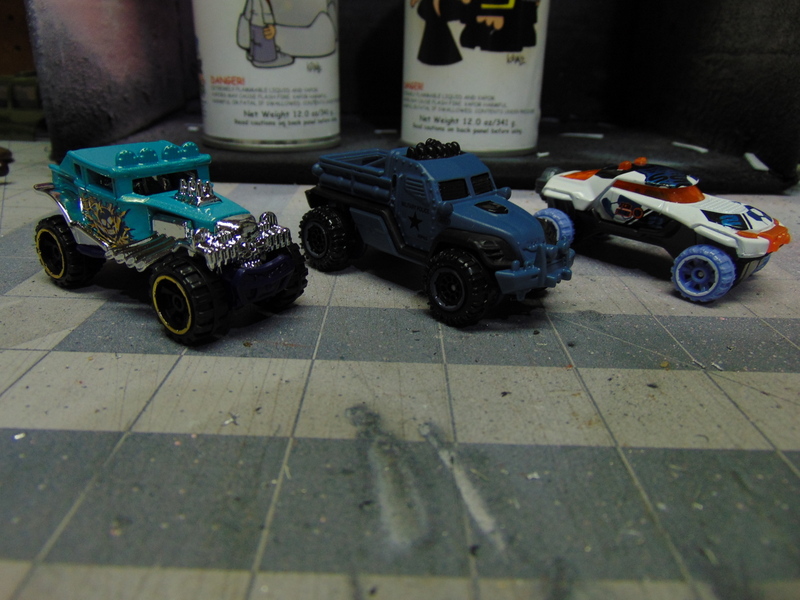
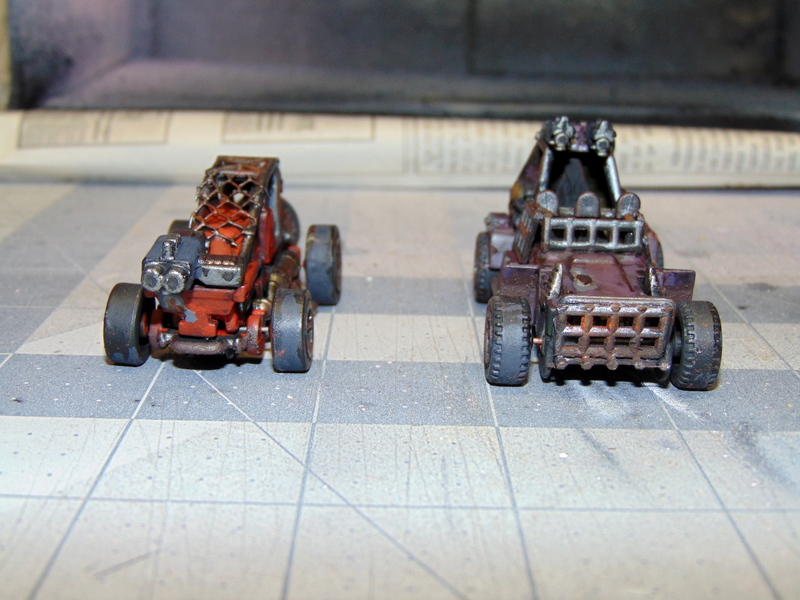
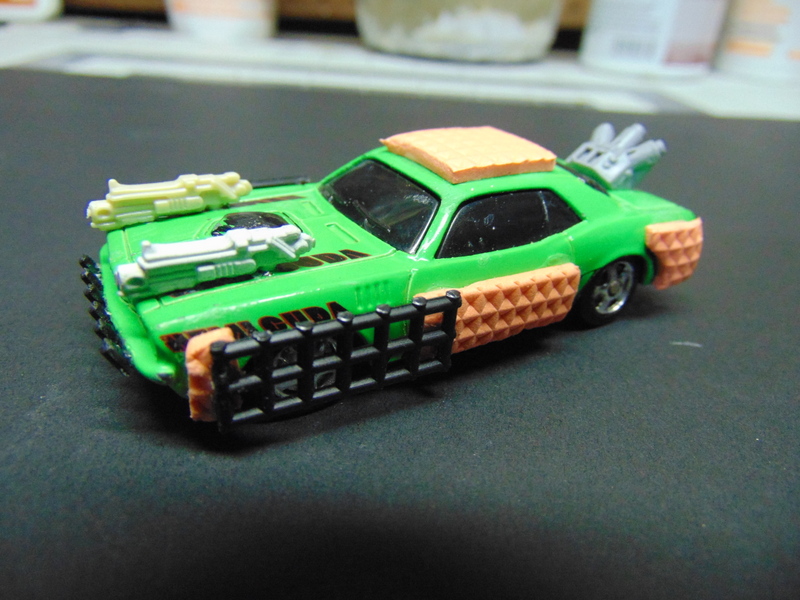
After the usual conversion process, I present the results:

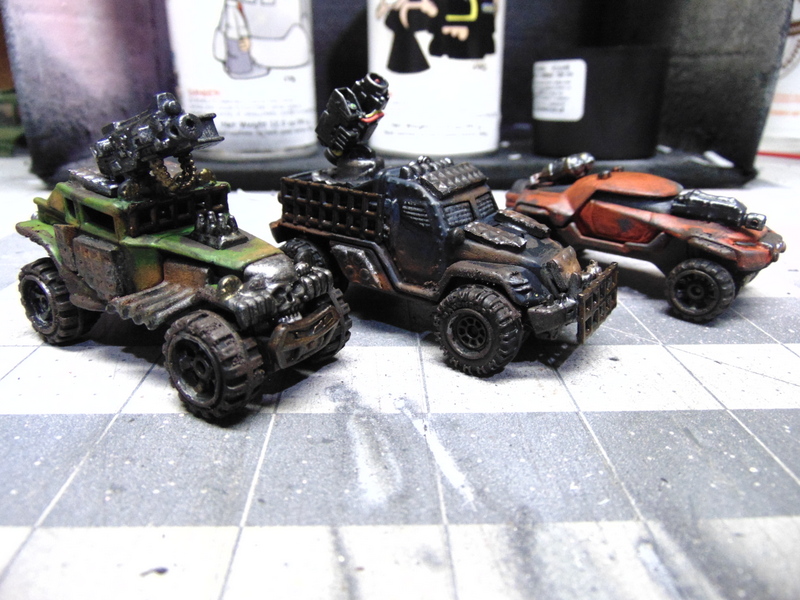
I present: Surrender, Dorothy!, Black Betty (Bam-a-Lam) and Red Asphalt! Surrender, Dorothy! is equipped with a heavy machine gun and smoke launchers (much like Coughin’ Joe), Black Betty has a front-mounted rocket launcher, and Red Asphalt has a front-mounted machine gun and an oil-slick dropper (or a nitro boost, depending on how I feel).
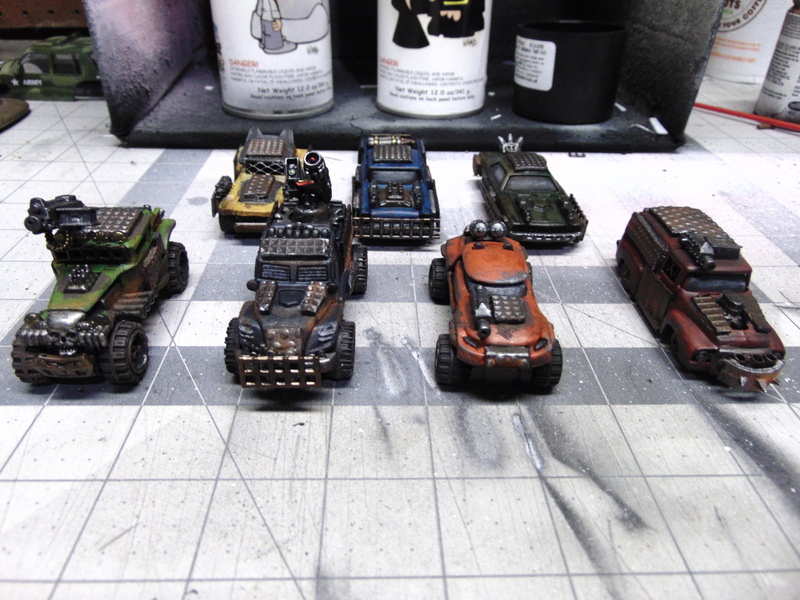
Together with my first Gaslands build, Coughin’ Joe, that makes seven cars in total. More than enough to play the game with a friend! (Note to self: make some friends.)
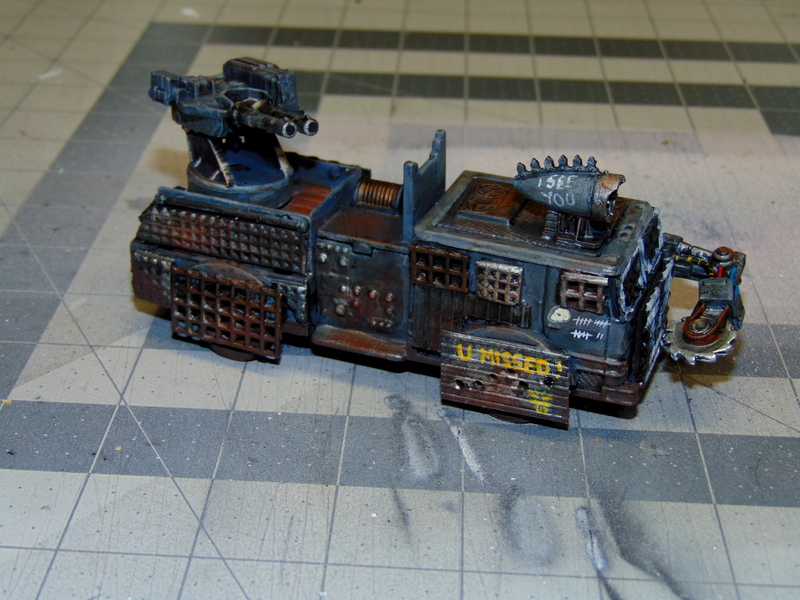
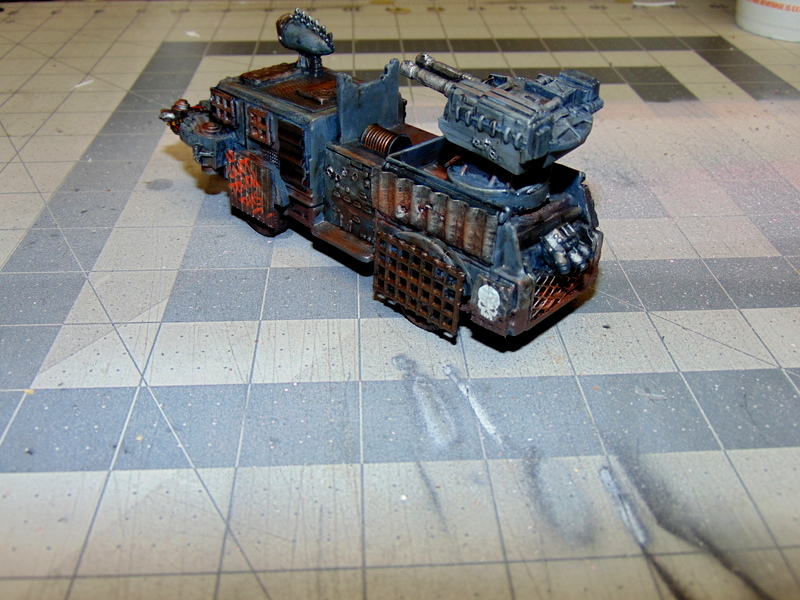
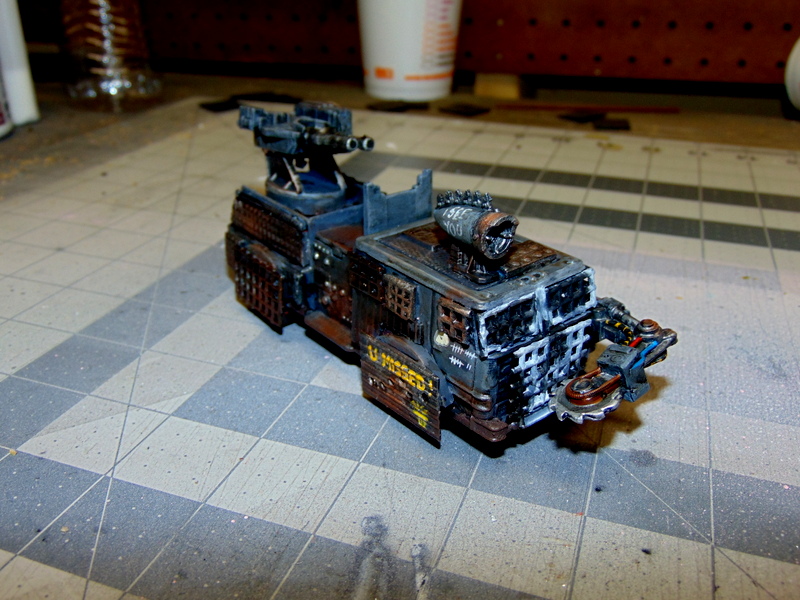
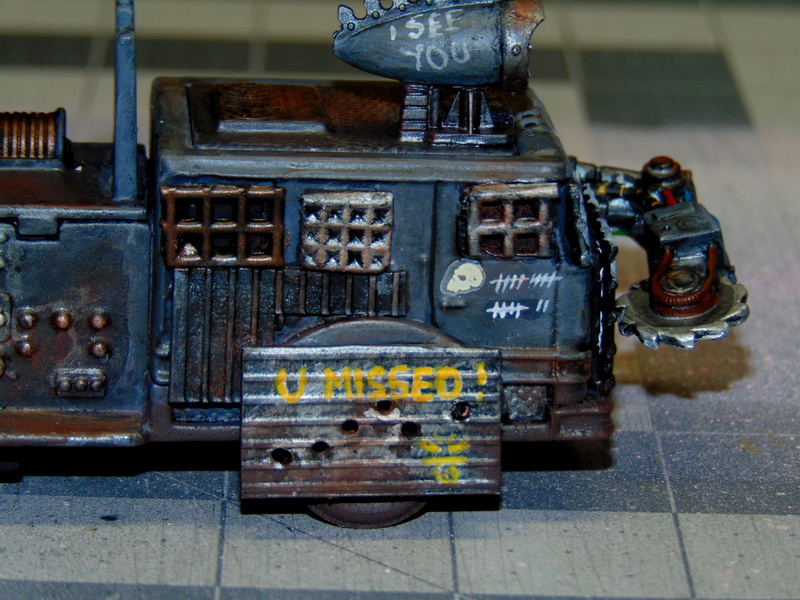
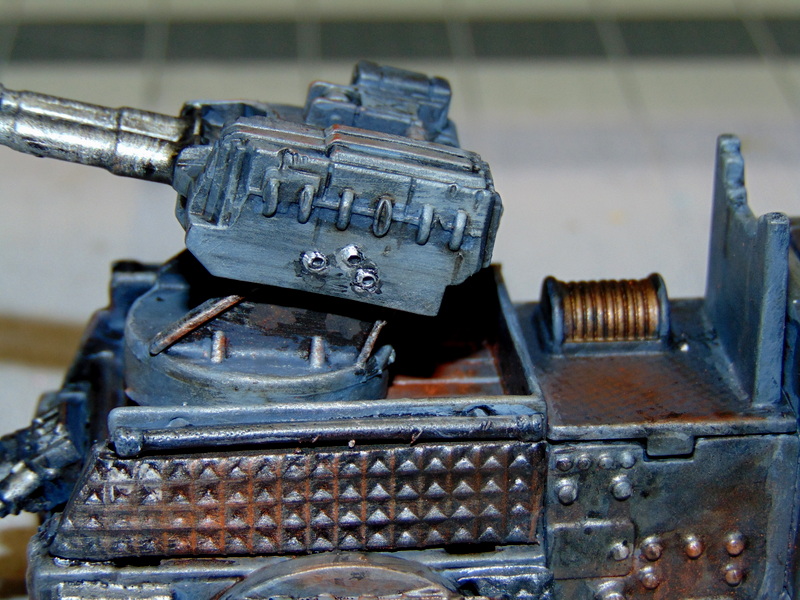
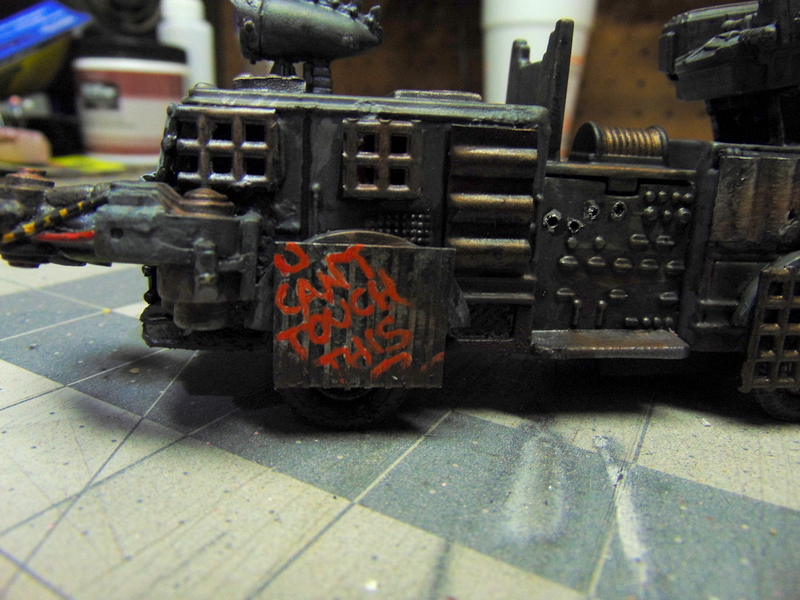
If you’ve been following my Gaslands build posts thus far, my painting technique should be pretty familiar. Basically, the cars all get weathered and highlighted the same way: after applying my chosen colors, they are all washed with Nuln Oil. All the armor and metal bits are painted either with Gunmetal Grey, Gun Metal or Tin Bitz, then washed with Nuln Oil, Armor Wash or Agrax Earthshade. Then I apply some Stirland Mud, Typhus Corrosion and usually some MIG rust pigment to weather they cars further. And that’s pretty much it.
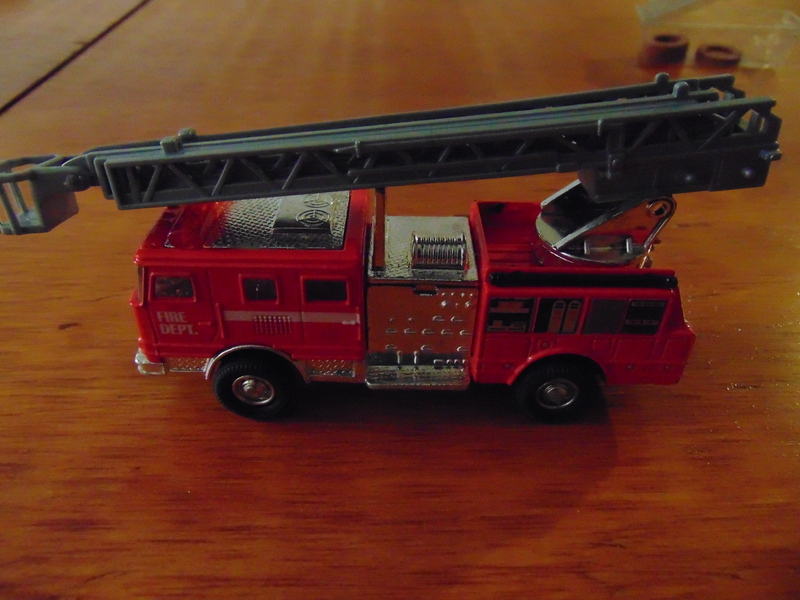
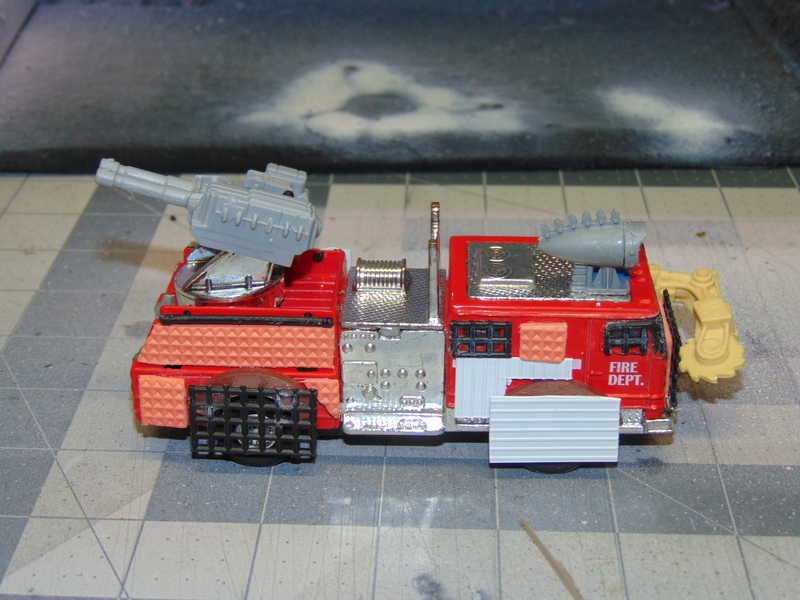
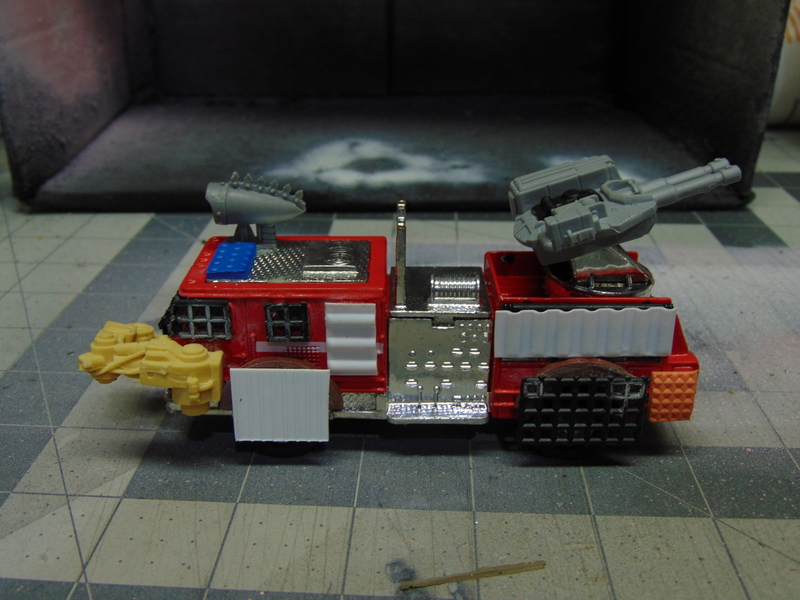
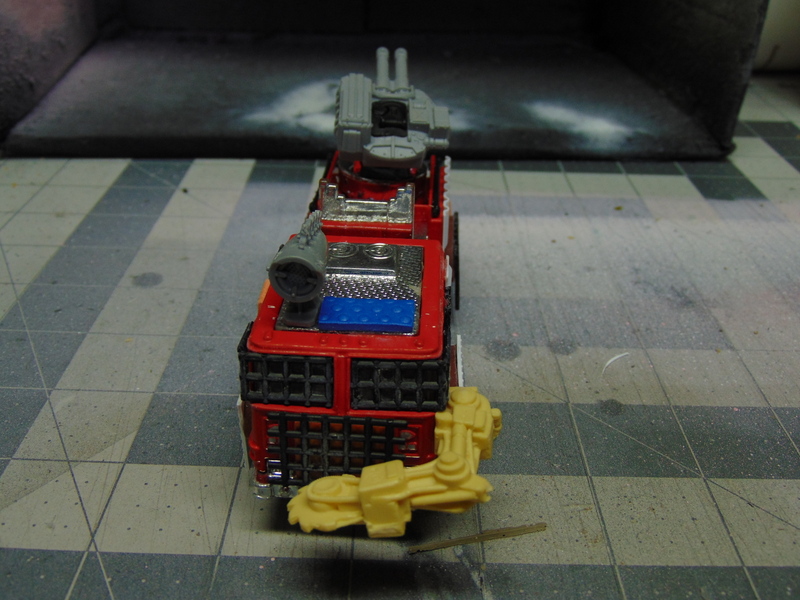
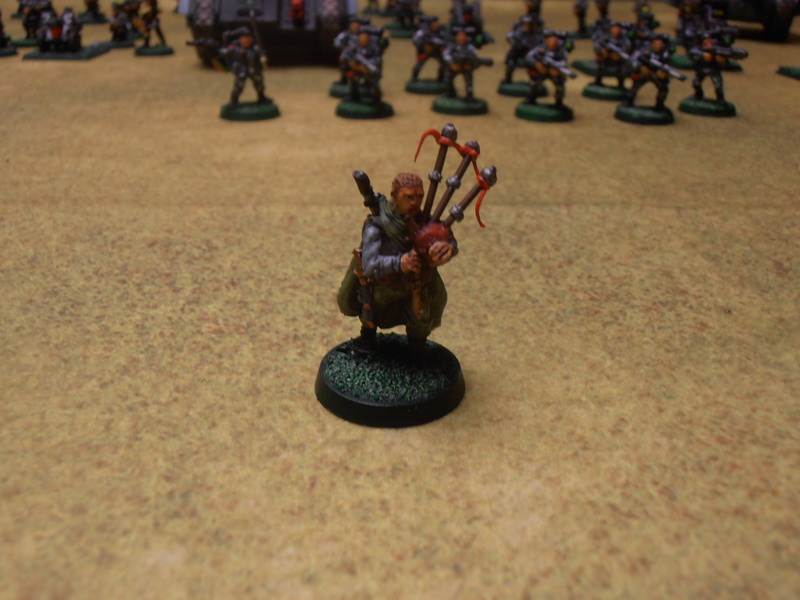
Wondering about that Ford F-150 Pickup? Well, next post you’ll see what I did with it. For those of us in the United States, here’s a hint…
“Sunday! Sunday! SUNNDDAAAAAY!!!!!!”


