I recently made the decision to pull the plug on my AD&D campaign after several game-free months. It was not as hard as I thought it would be. But it still sucks.
Some quick background: I got the idea for the campaign a few years back. Get my friends to re-create their favorite all-time character for AD&D 3.5, start at 1st level and go. I decided to keep it light and focus on the characters, so I created a world all my own and dumped them in it. It was to be a fairytale-themed game, where familiar characters and situations from classic fairytales-both Mother Goose and Brothers Grimm-often made appearances. I came up with a basic plot: an evil wizard places a curse of eternal darkness on the kingdom, and refuses to lift it unless the princess marries him. The only way he can be stopped is to gather ten special gems with divine properties, scattered all over the world. The characters have a year and a day to lift the curse.
Of course, in truth, the characters have as long as they need to lift the curse. I figured we’d just play the campaign out and once they got all the gems, we’d have the final confrontation. Kind of like in any video game RPG.
Like I said, I wanted to focus primarily on the characters. Each had a story to tell, and truth be told, I wanted the players to care more about them than they normally would, since these are their “favorite” characters. And I wanted to use miniatures, since I had never really used them successfully in a rpg before.
We played the game for a few years and we all seemed to have fun. But we never got very far in the overall story, because our game sessions grew farther and farther apart. In my opinion, here are two reasons I feel the campaign ultimately failed:
1. Too many players: I play with four other guys, all good friends of mine. We’re all around the same age: early forties. Some us have families, some of us don’t. You would think for a game like AD&D, a four-character party would be just about right. And it is. But the simple truth is that coordinating the schedules of five adult men should not be as hard as it has been. It seems that there are nights when 3-4 of us can get together, but the nights when all 5 of us were available and ready to play were rare, even when we attempted to stick to a rigid schedule planned well in advance. Ultimately, I was running the game, and I decided that unless all of us were available, I wouldn’t run my campaign. I wanted all my players in order to run the game, because I wanted all the characters there for the story.
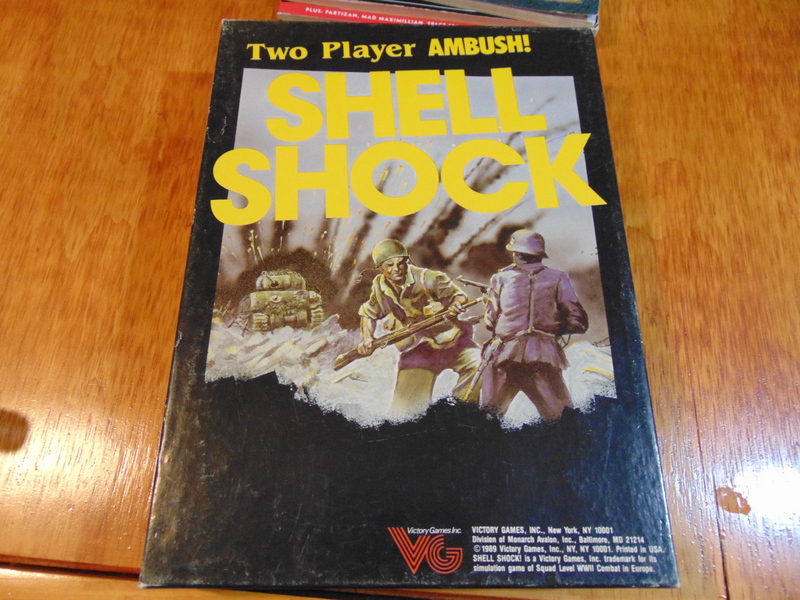
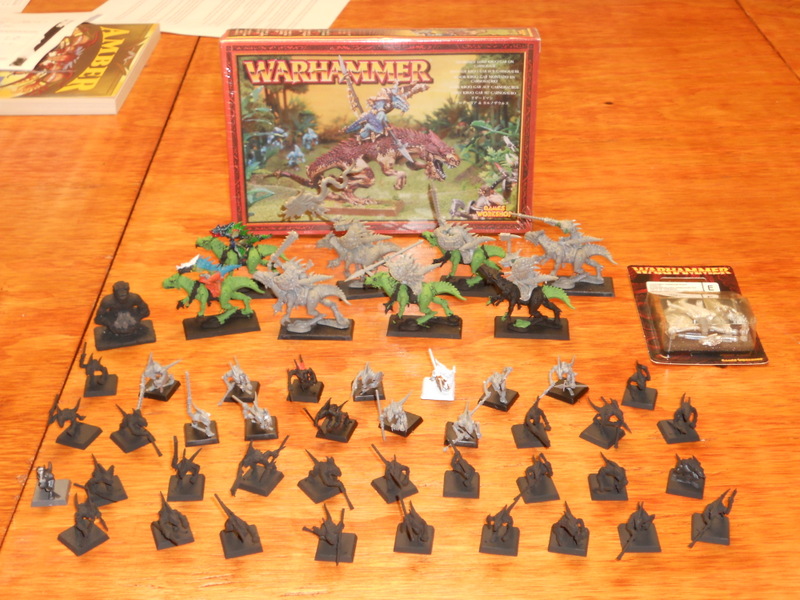
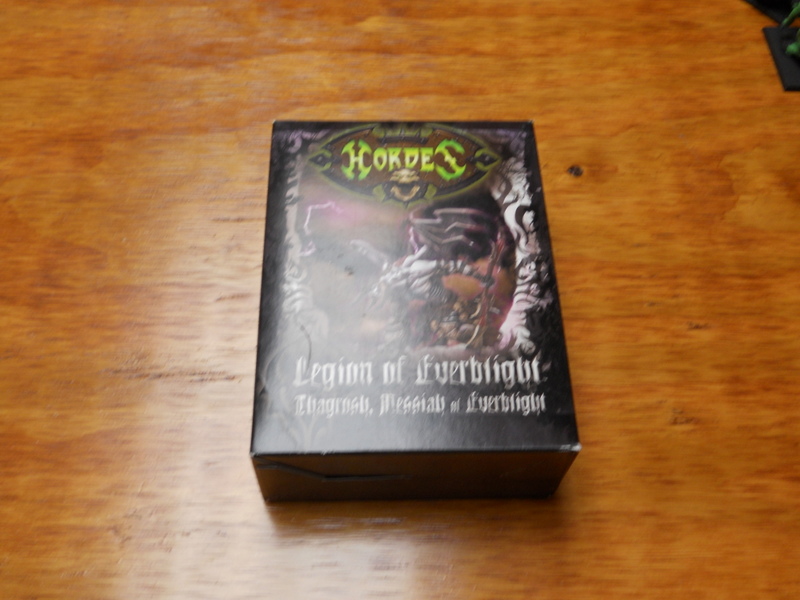
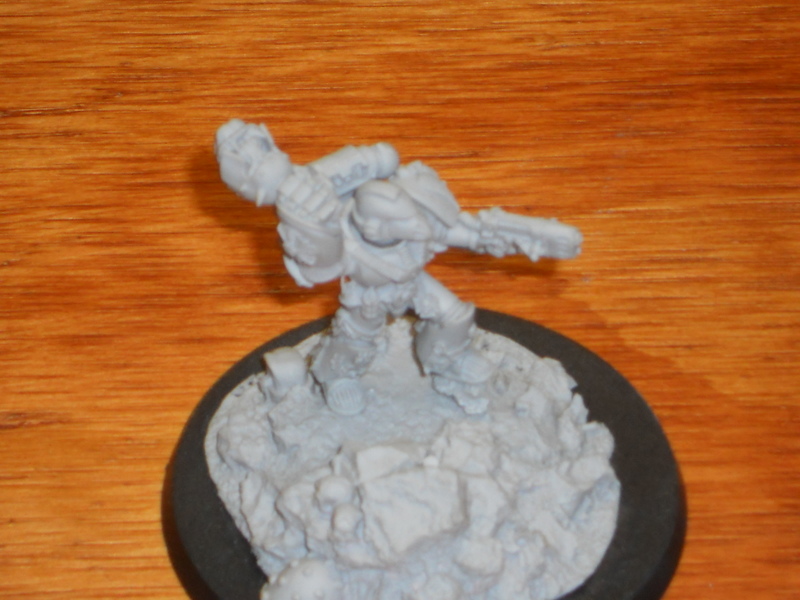
2. Miniatures are a bitch: especially when you’re the only one buying and painting all of them. I look at all the miniatures I purchased over the last 2-3 years, and at least half of them were bought solely for this game. The expense is not the issue…it’s the time I needed to devote to painting. I chose some monsters I already had (like GW Orcs and Goblins, of which I had an entire WFB army) for the first leg of the campaign, which allowed me to paint miniatures I would need for down the road. The theory was that by the time we got to a particular point in the campaign, the miniatures would be ready. Of course it didn’t work out that way. Real life gets in the way of painting, too; and I needed to take a couple of brief hiatuses from running the game in order to catch up on the painting. In the meantime, someone else would run something. Even though using the miniatures was fun, the amount of time needed to buy and paint them took up a lot of time we could have been playing. And I don’t know about you, but when I HAVE to paint something, it seems like work and takes a lot of the joy out of painting. (I’d rather paint those Wargames Factory Greatcoats, but I need the three gnome NPCs the players are going to meet, as well as the Elven Swordmaster they’re going to encounter and the Otyugh they’re going to fight, all by Saturday night. This happened a lot.)
By the time I pulled the plug last month, we hadn’t played as a complete group since early November. Granted, the holidays are bad; but we always managed before. In addition I hadn’t painted one miniature since early December. Partly that’s because I got obsessed with Batman: Arkham City and played that until my fingers bled. But I stopped playing that in January and I didn’t return to painting until last week, mainly because I just didn’t feel like it.
I think the reality of our gaming situation is that we can no longer seem to commit to a long-term game as a group. Sure, we can play one-shots or short 2-3 session games, but the days of a long campaign in any rpg system seem to be behind us. That makes me sad. If you asked any one of us, we would all say we would like to play more. We all miss those weekly gaming sessions when we were in high school or college, but that’s just not us anymore. I guess its better-for our group, at least- to game when we can with whoever can make it, and play whatever we can; whether it’s miniatures skirmish, published adventures with pre-generated characters, or just a quick one-off here and there.
It’s better than not playing at all, right?