In April, 2013, I posted My Pile of Insanity, which detailed how much unpainted lead (and plastic) I had at the time and my plan to dig myself out of it.
I failed miserably to excavate myself and I have only accumulated more stuff since then. Projects I will never begin, let alone finish. Therefore I need to part with some of this stuff, no matter how painful it may be.
The following stuff is for sale. Buyer to pay shipping. I will, of course, combine shipping on multiple items to ensure the cheapest rate. Prices are indicated below.
With the exception of the Hordes/Warmachine stuff, I want to sell these as lots and I’m not really interested in splitting them up.
Don’t like my prices? Make me a reasonable offer and perhaps I can be moved.
I might consider trades on some of the smaller lots, but my list of trade wants is small and specific (since I’m trying to get rid of stuff, not accumulate more). See the list at the end for what I will consider.
Email me at Angrypiper@angrypiper.com OR PM me on The Miniatures Page to make an offer.

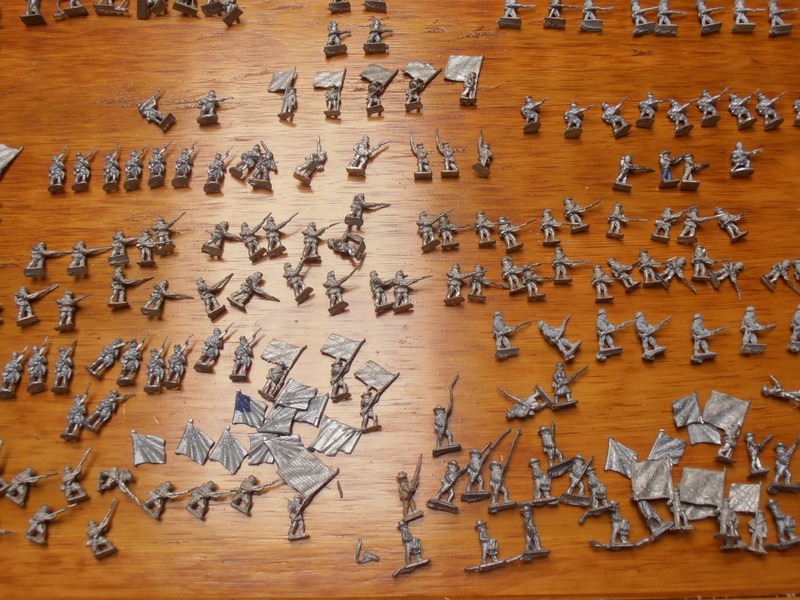
First up: I have a huge American Civil War/Napoleonics lot, roughly 10mm-15mm. I’m asking $100 for all of it, roughly 300 figures including personalities and cannon. For lots more info on that, check out this link. There are tons of other pictures over there too.

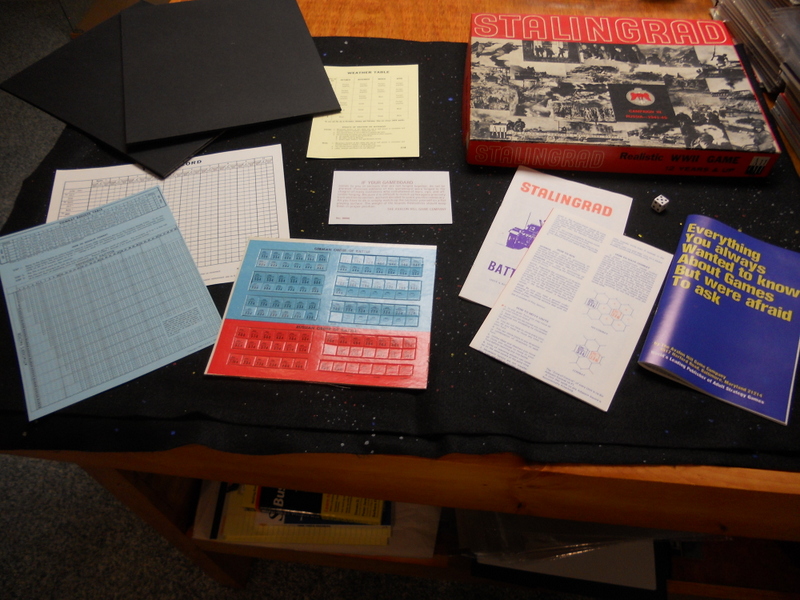
Avalon Hill Stalingrad (1976) $50
Complete, Unpunched. About as good as you’ll find outside of shrinkwrap.
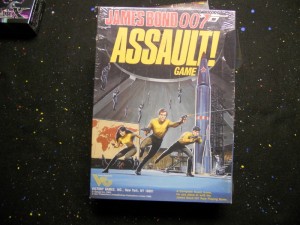
Victory Games James Bond 007 Assault! $50
Still in shrinkwrap, can be used with or without the old James Bond RPG.
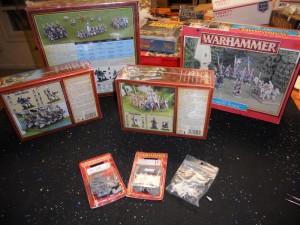
Warhammer Fantasy Battle:
High Elf Lot (All unpainted, unassembled) $260.00
Cavalry Patrol Box Set: 1 mounted hero, 1 Ellyrian Reaver Champion, 4 Ellyrian Reavers, 5 Silver Helms, 1 Tiranoc Chariot and 1 Waystone (scenic item).
High Elf Battalion: 8 Silver Helms, 16 Elf Warriors, 16 Archers, 1 Bolt thrower Still in shrinkwrap.
High Elf Warriors Regiment (16 Warriors). Still shrinkwrapped.
High Elf Silver Helms Regiment (8 Silver Helms). Still shrinkwrapped.
The General on Griffon from Isle of Blood (assembled, unpainted. Lance broken but fixable). (loose) (for some reason I forgot to put him in the picture. If you want a picture let me know.)
Some extra Ellyrian Reavers (I think 2-3)
High Elf Mages blister (1 mounted, on afoot). MIB
Total: 27 + Cavalry, 48 infantry, 1 general on griffon, 2 mages (1 mounted), 2 bolt throwers, 1 Chariot and 1 Waystone.
Lizardmen Lot: $50.00
Warlord Kroq-gar on Carnosaur (still shrinkwrapped)
50 old style skinks with bows (1 painted)
8 Saurus riders on Cold Ones ( assembled, some partially painted).
Saurus sprues to complete the riders
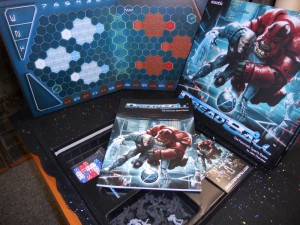
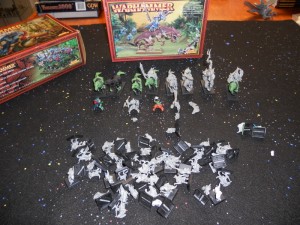
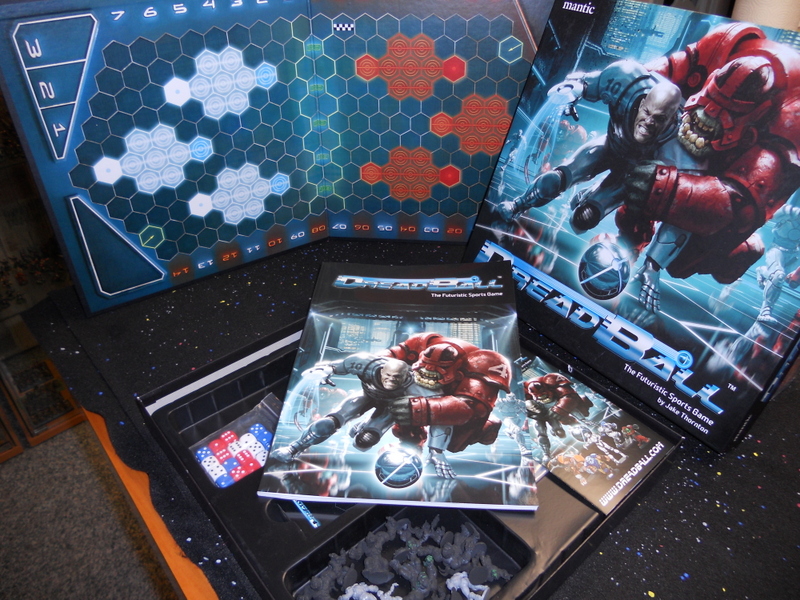
Dreadball (the original) $45
Orc Miniatures primed black and minimally painted, otherwise MIB
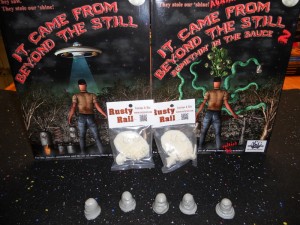
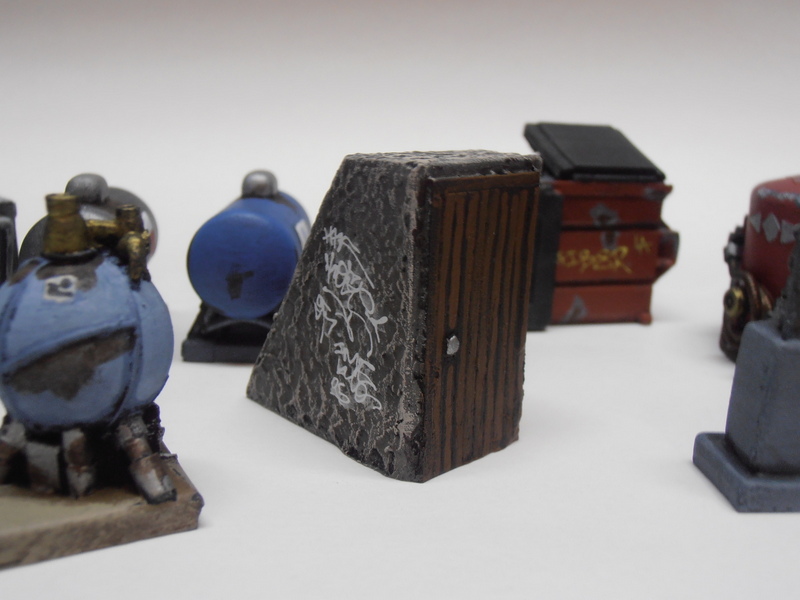
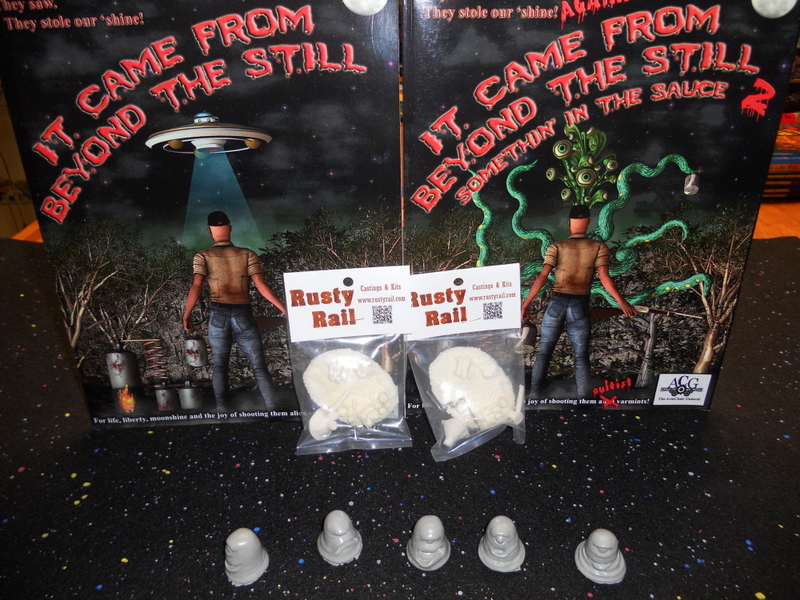
It Came From Beyond the Still Lot $60
ICFBTS Rulebook and ICFBTS: Somethin in the Sauce expansion
Blobs Faction (5 unpainted resin blobs)
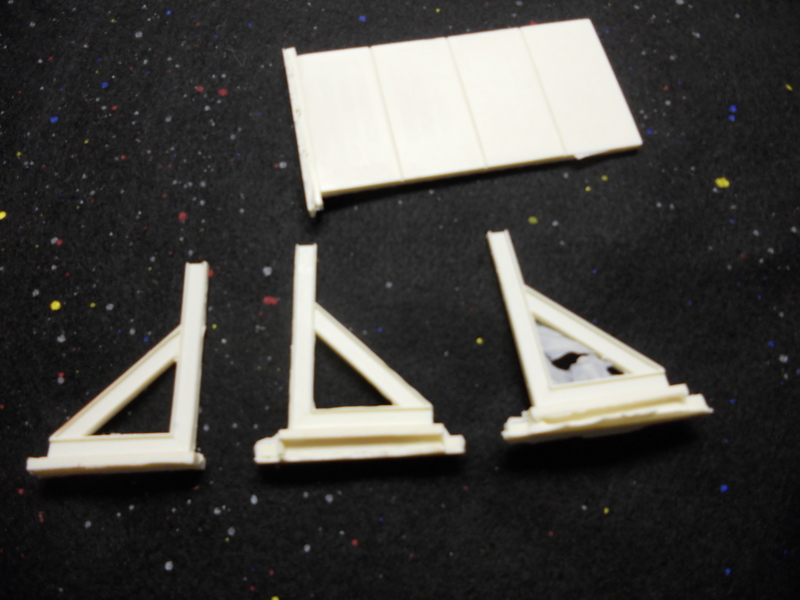
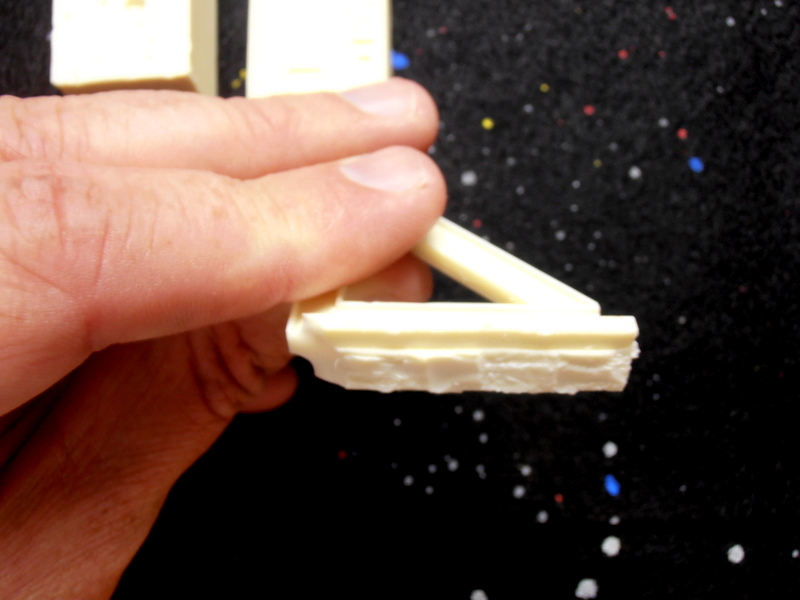
2 Rusty Rail Stills (unassembled, unpainted and MIB)

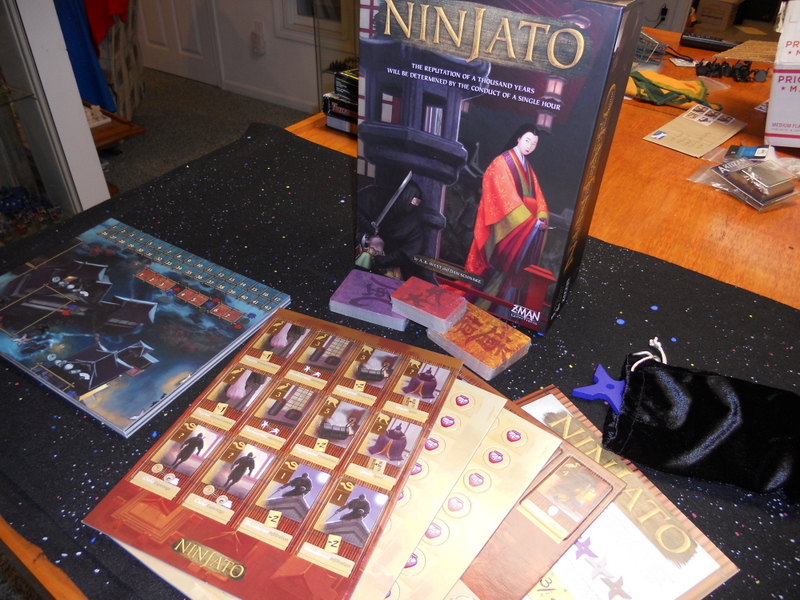
Z-Man Games Ninjato $40
Complete, unpunched
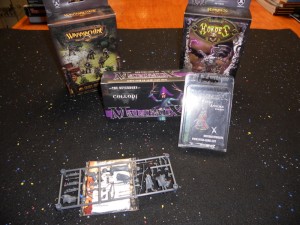
Warmachine/Hordes
Croe’s Cutthroats (6) box set: $35
( NIB, all unassembled, unpainted)
Legion of Everblight Thagrosh: Messiah of Everblight $30
(NIB, unassembled, unpainted)
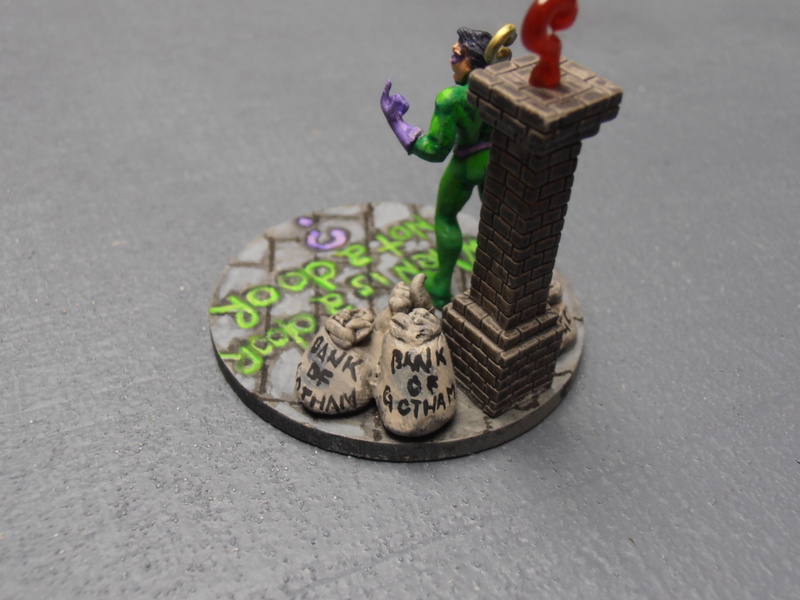
Malifaux Lot $45
Collodi the Puppeteer Box set (Old version, Shrinkwrapped)
Ten Thunders Archers (on sprue)
Kirai Ankoku (old style), MIB
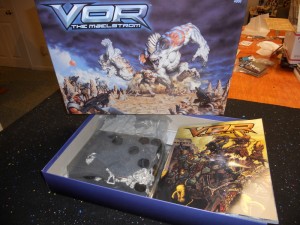
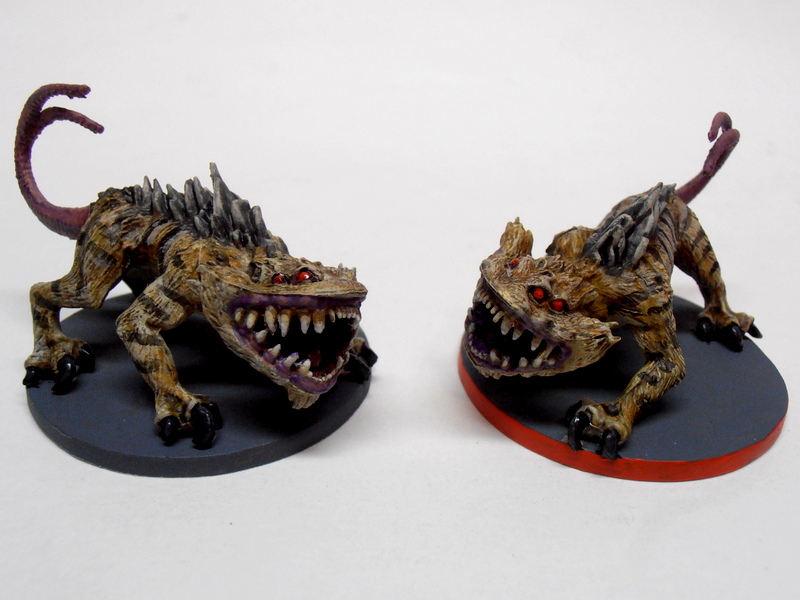
Vor: the Maelstrom Boxed Set $45.00
(all scenery and miniatures unpainted/unassembled, includes an extra Growler Bull)
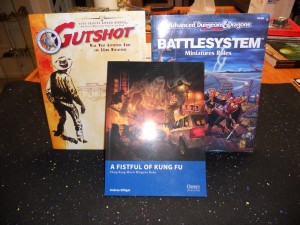
MINIATURES RULEBOOKS
Gutshot $15
A Fistful of Kung Fu $12
TSR’s Battlesystem 2nd Edition $10

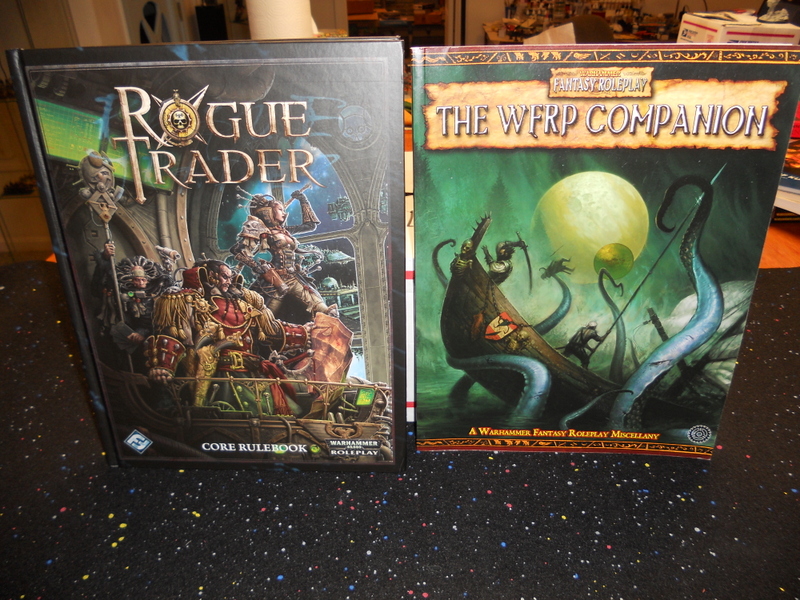
Fantasy Flight Games Warhammer 40K Rogue Trader RPG $35
Near Mint. Retail $60
Warhammer Fantasy Roleplay Companion Rules (OOP) :$30
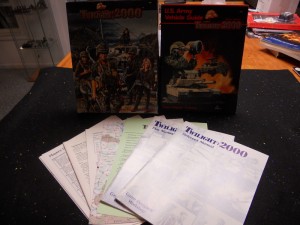
GDW Twilight: 2000 original boxed set + extra. $20
Box has some wear, but all books are NM and present. Also includes US Army Vehicle Guide book (not NM)
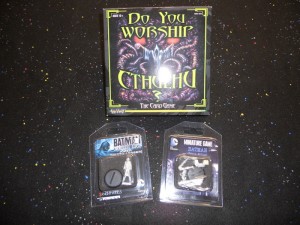
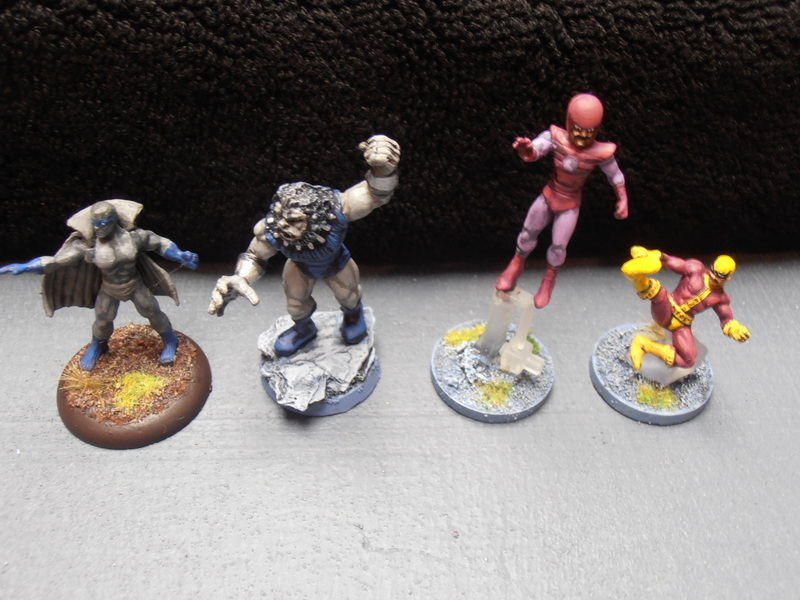
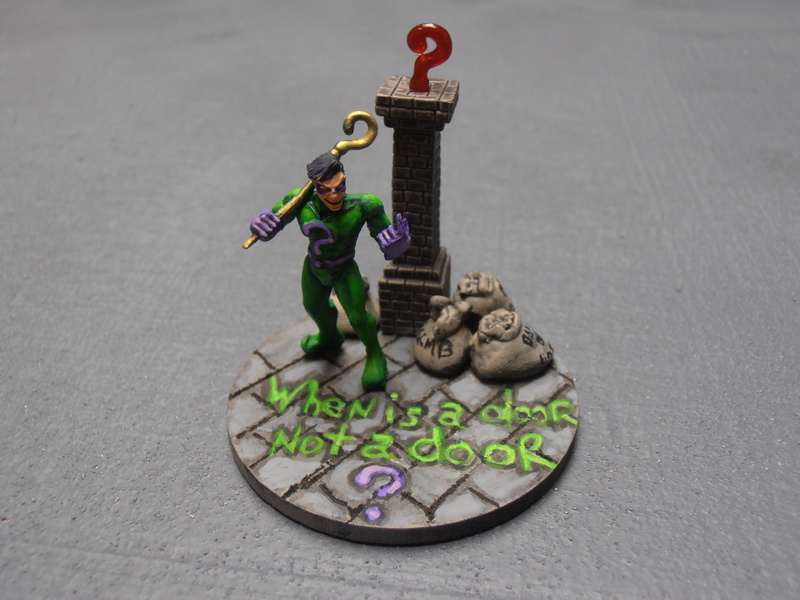
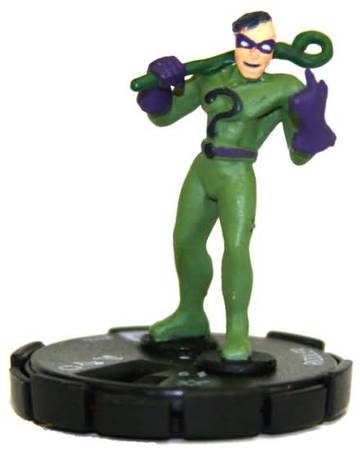
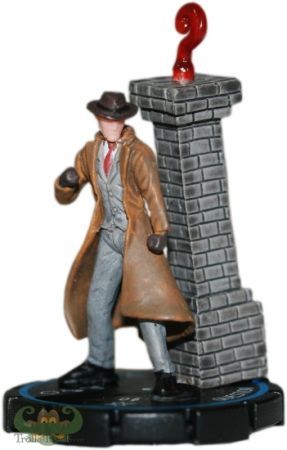
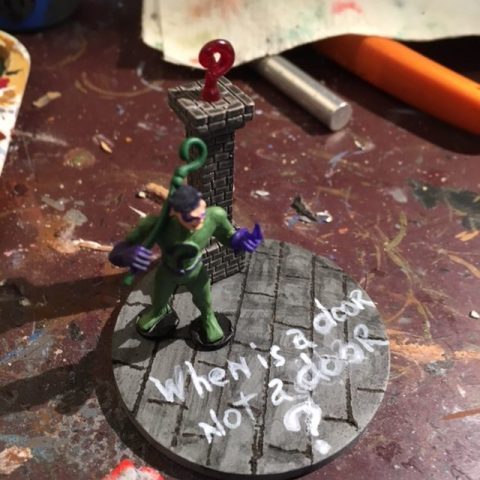
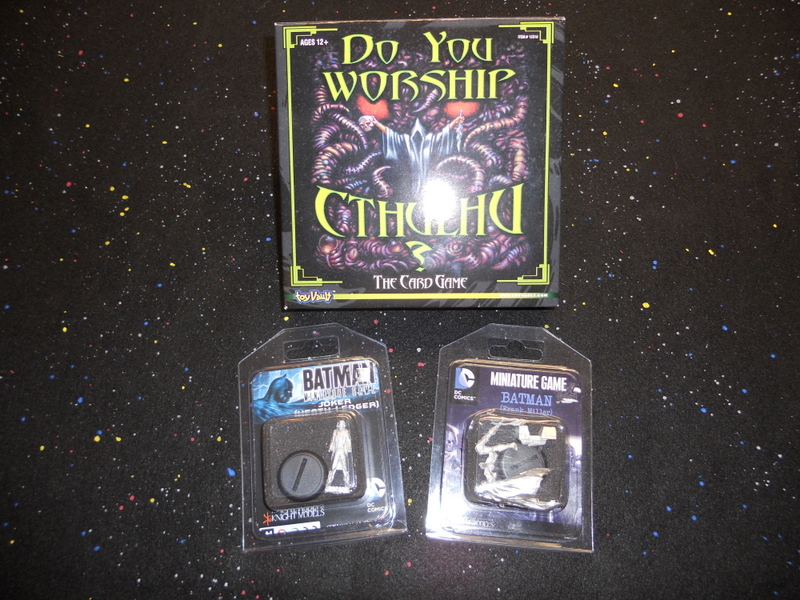
Knight Models Batman Miniatures Lot $20
Frank Miller Batman (Dark Knight Returns) (MIB)
Joker (Heath Ledger version) (MIB)
Do You Worship Cthulhu? $8
Card Game NIB
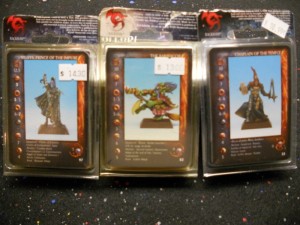
Rackham Confrontation Lot $15
Chaplain of the Temple MIB
Velrys the Impure MIB
Limited Edition Baba Yagob MIB

Anima Tactics
Alessa Raincross MIB $5 (Not Pictured)
Rattrap Productions Fantastic Worlds
The Pit Beast MIB $8
WFB Empire:
Valten: Loose, unpainted. $3
Warhammer 40K
30th anniversary Rogue Trader marine: (broken banner pole, unpainted, resin $3
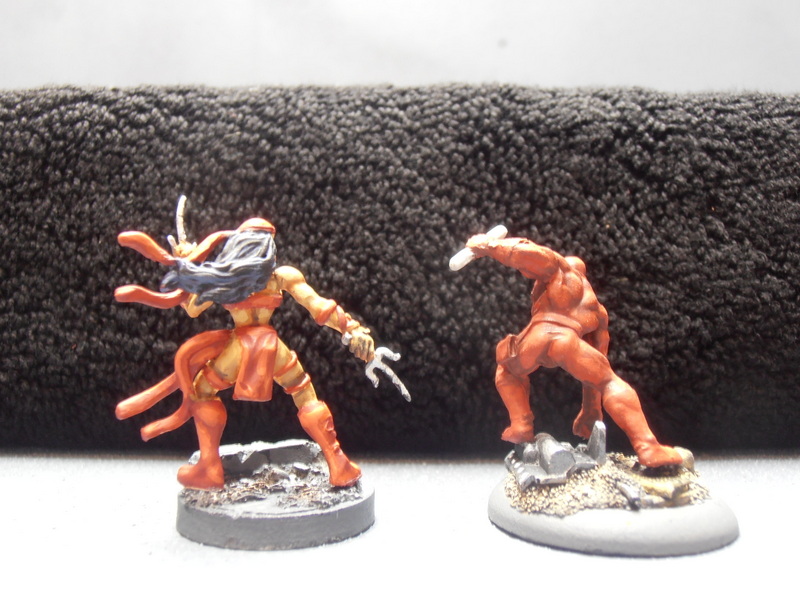
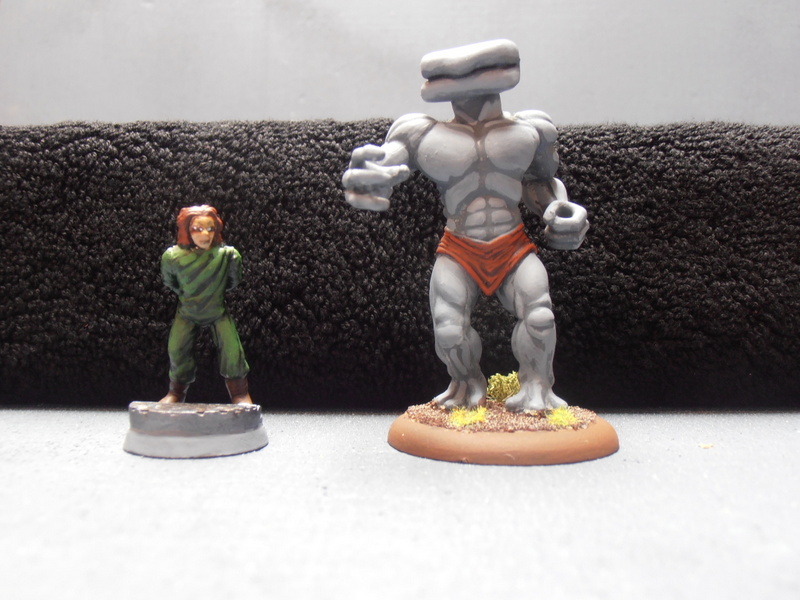
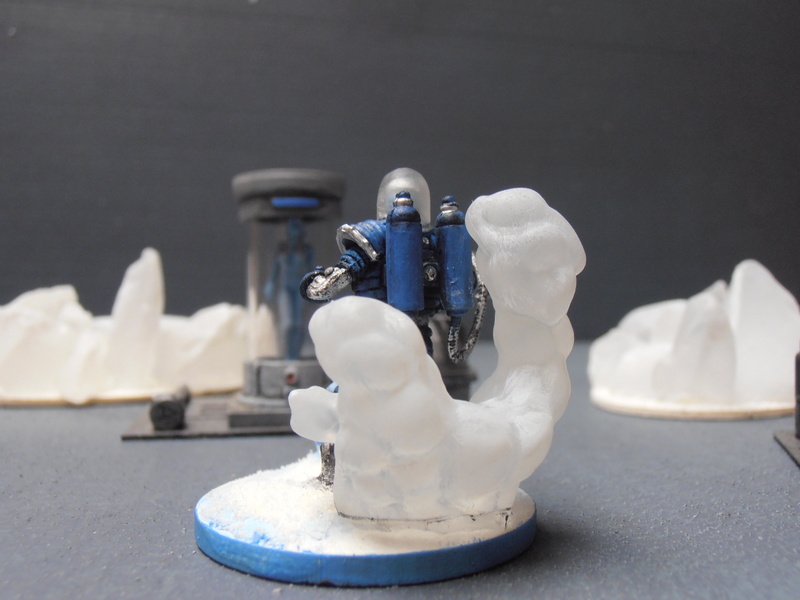
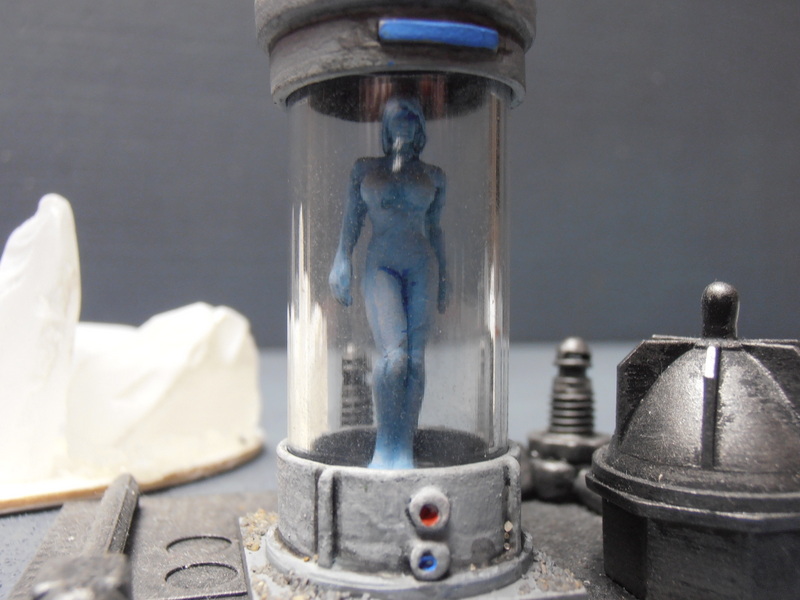
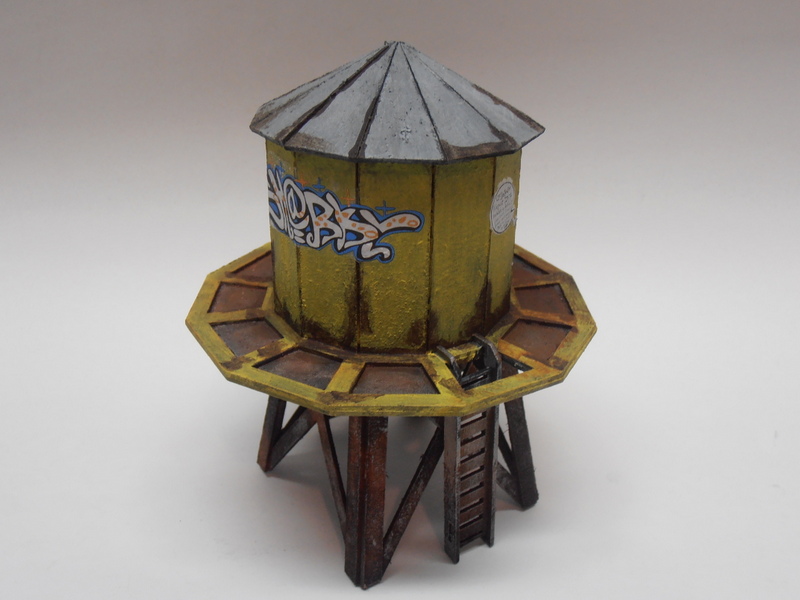
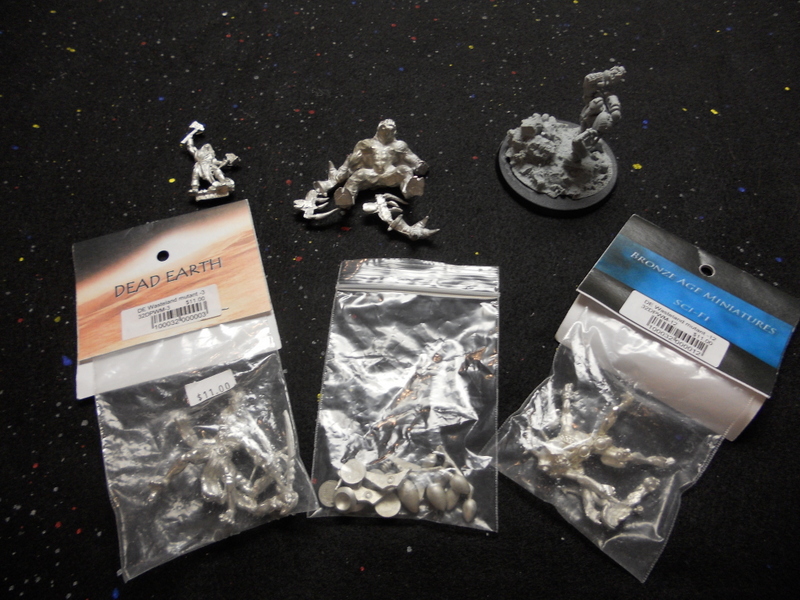
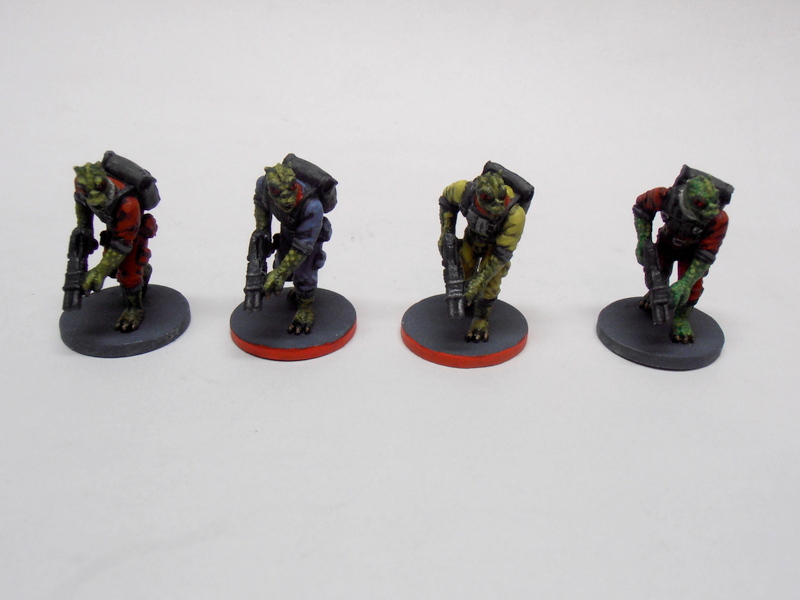
Bronze Age/Tin Man Mars Miniatures Lot $18
BA Wasteland Mutants 3 and 12, MIB
Tin Man “Incubator” terrain piece

Northstar Ronin $25
(9 figures, unassembled, unpainted without box)
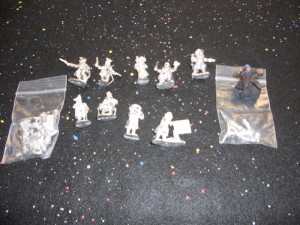
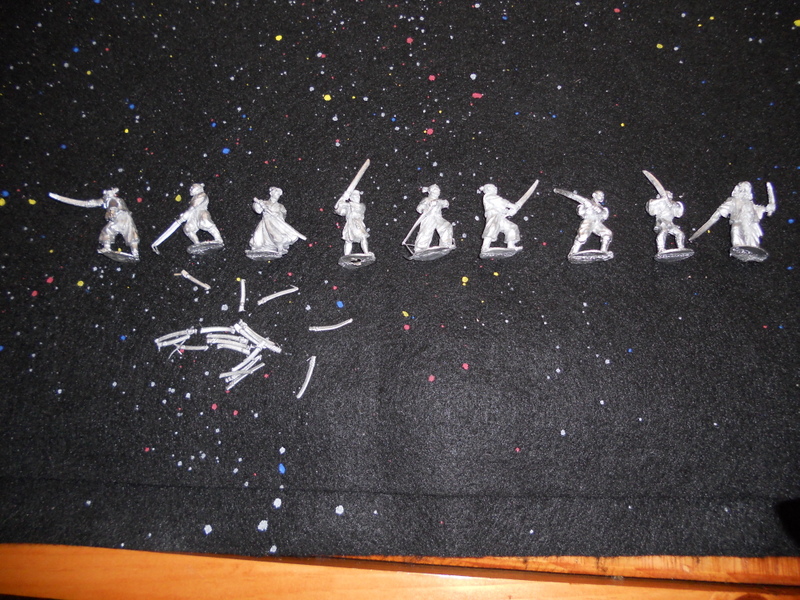
Old Glory Pirates $25
(14 Miniatures, 13 unpainted, one primed black and partially painted). From the Old Glory Army set.
WHAT I WILL CONSIDER IN TRADE:
40K OOP Mordian Iron Guardsmen. I do not want heavy or special weapons. Just Guardsmen with lasguns.
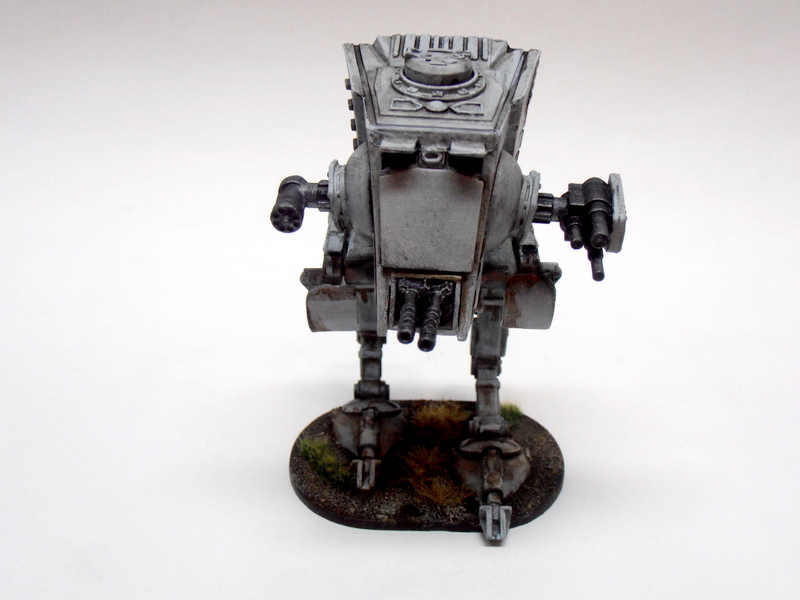
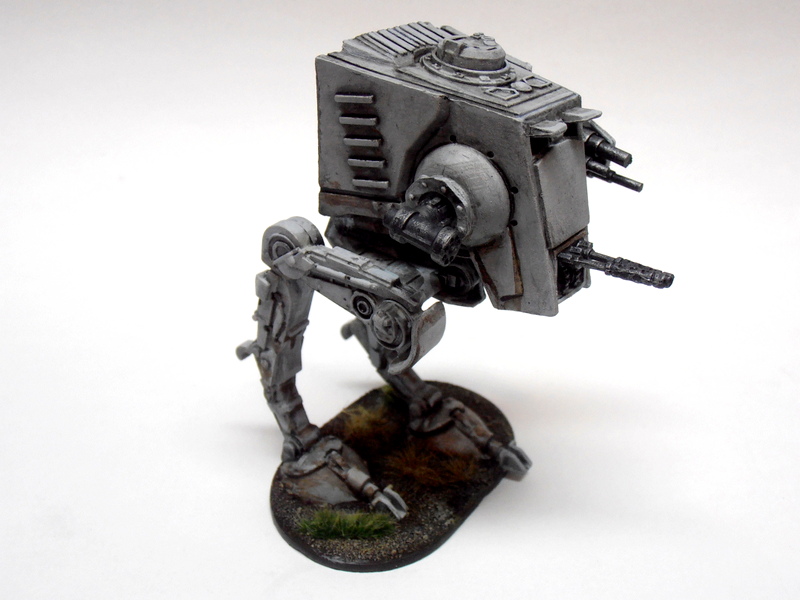
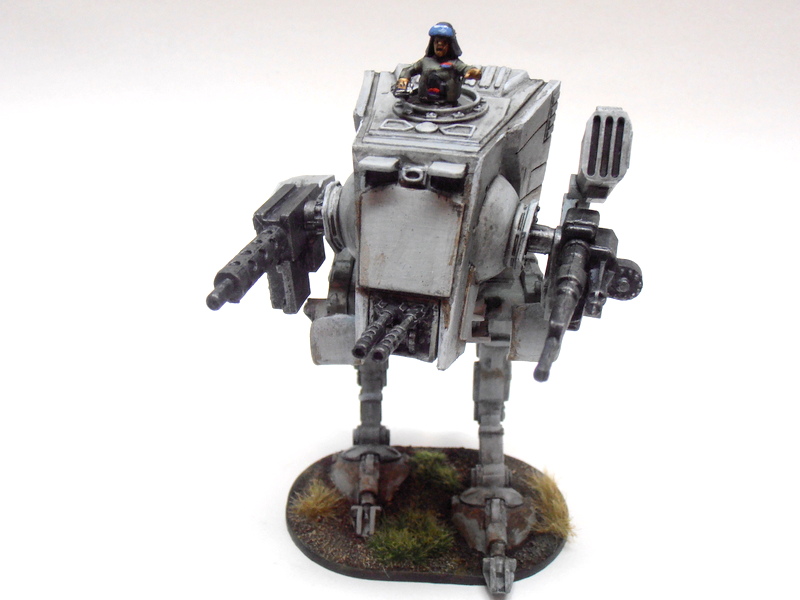
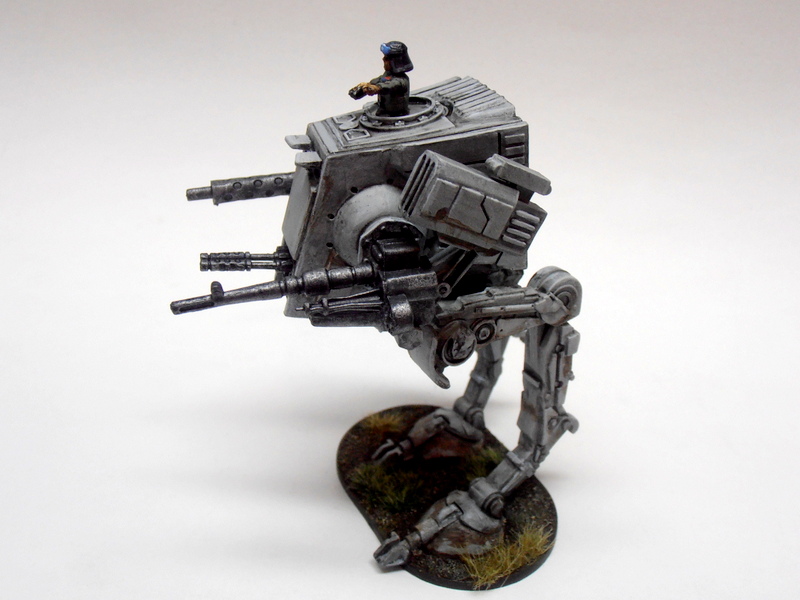
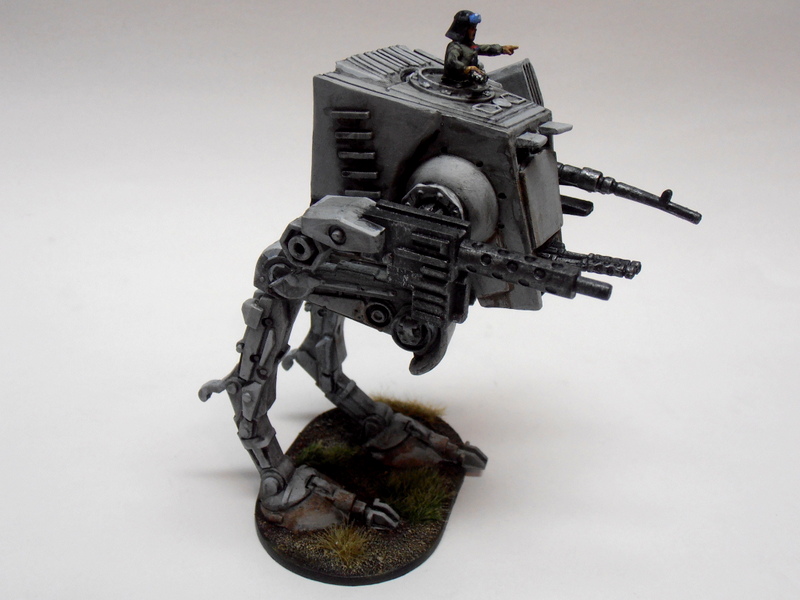
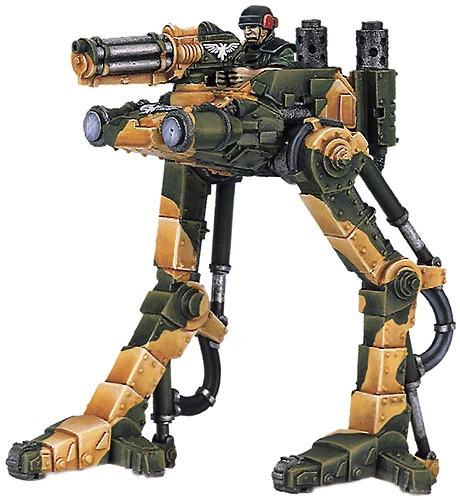
OOP Sentinels (the old style) Like THIS
The long OOP Thunderbolt Mountain “Death’s Door” diorama, by Tom Meier.
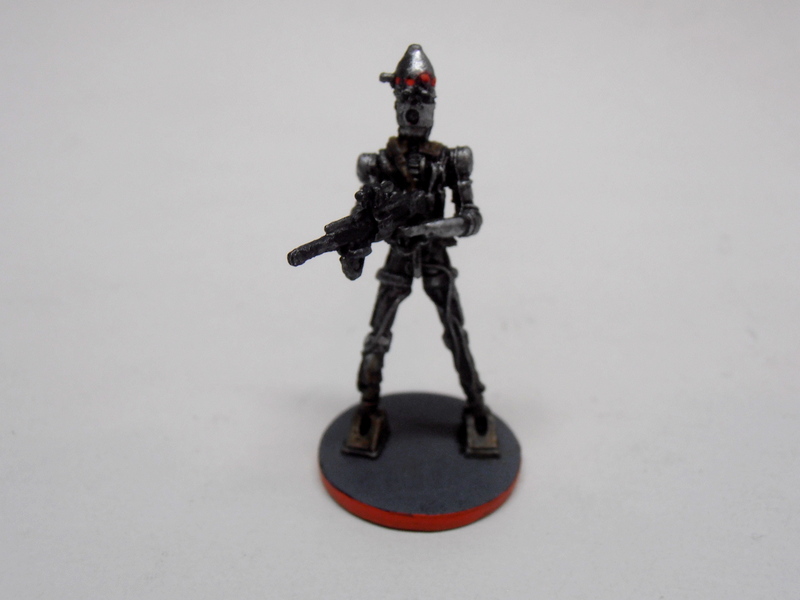
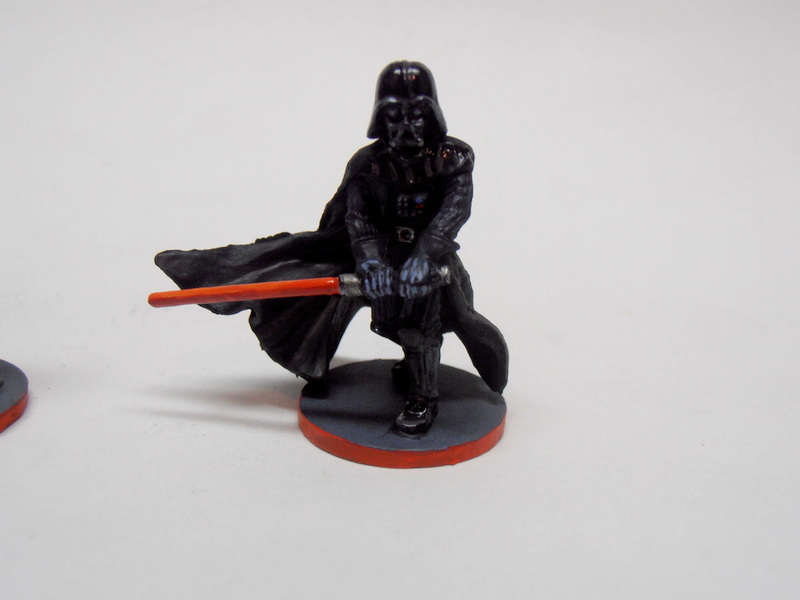
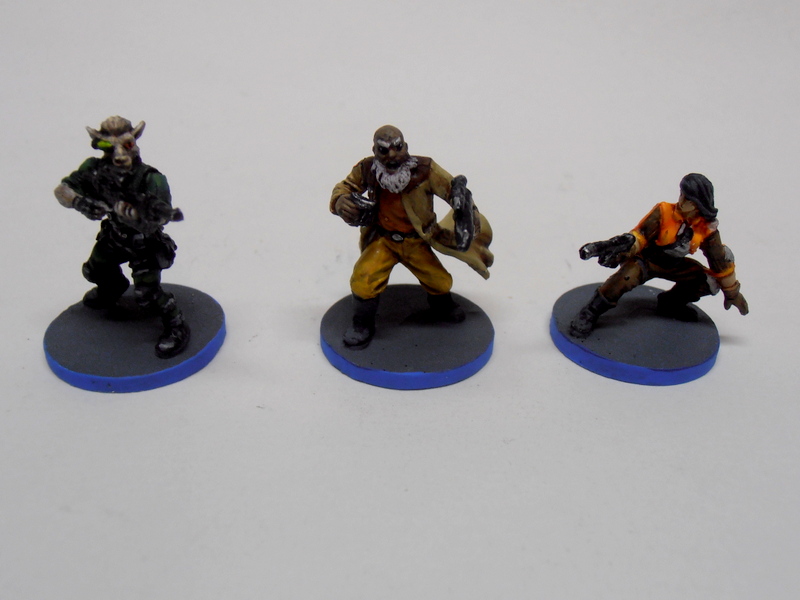
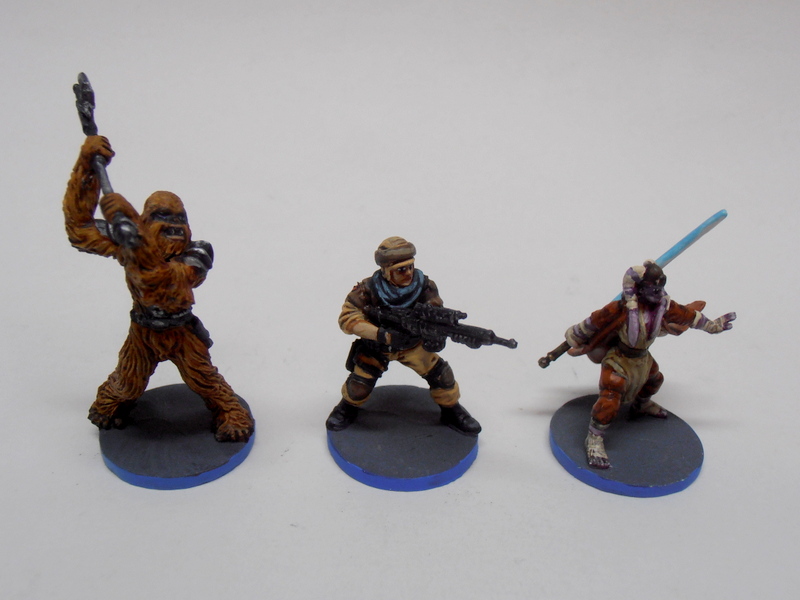
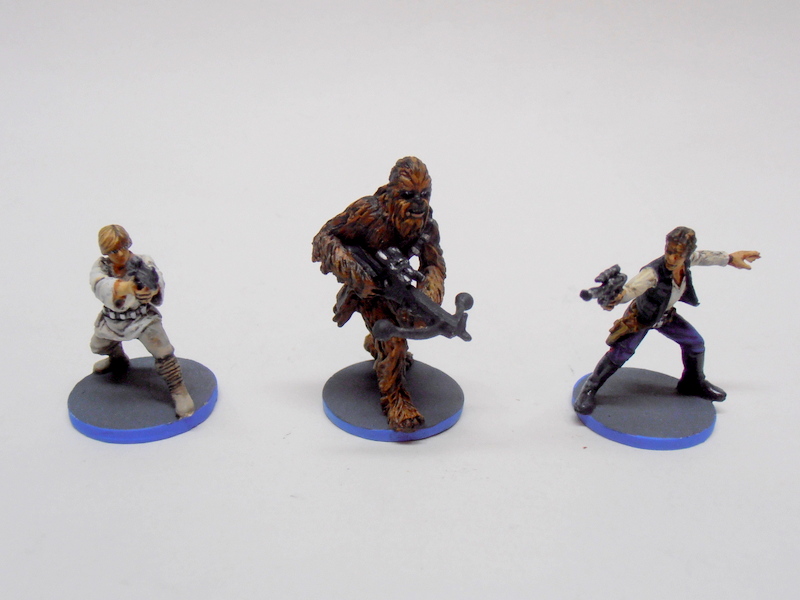
Certain Imperial Assault or X-Wing miniatures
I’m also looking to replace some long OOP Middle Earth: The Wizards cards from the ICE Collectible Card Game. If anyone has any of those, I have a short list.
Once again, email me at angrypiper@angrypiper.com if you’re interested in any of this stuff. Or PM me on The Miniatures Page (The Angry Piper).
Thanks for looking!


